How to Sew with Wool Suiting
Sew tailored wool cleanly: choose and apply the right interfacing, press with steam, a cloth, and a clapper to set seams flat, and grade the bulk so a jacket looks sharp.
Established sewing and tailoring references reviewed for pre-shrinking, needle and stitch choice, interfacing selection, pressing with steam and a clapper, and grading bulk when sewing wool suiting; no universal settings are prescribed and are confirmed on a scrap of the specific wool.
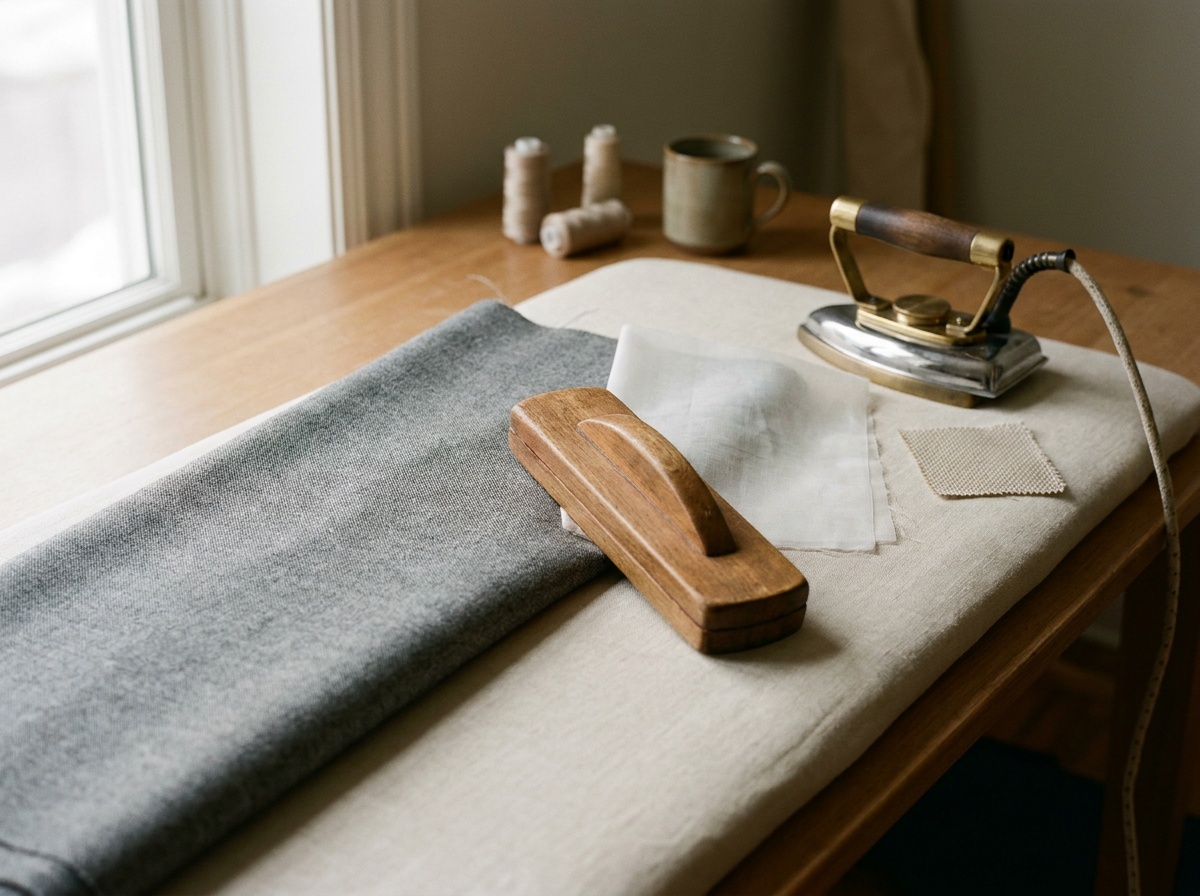
Wool suiting is forgiving to shape and unforgiving of a hot dry iron. Pre-shrink it first, since wool relaxes with steam, then cut on grain with a fresh universal needle around 90/14 and a stitch of roughly 2.5 to 3. The two things that make wool look tailored rather than homemade are interfacing and pressing. Interface fronts, collars, and edges with a weight that matches or sits just under the cloth, favouring a weft-insertion fusible or a sew-in for structure. Press every seam as you go with steam through a press cloth, then bring down a wooden clapper to knock the seam flat and set it. Grade and trim bulky seams, and always test heat and fusibles on a scrap.
Wool suiting behaves like a material that wants to be shaped: it moulds beautifully with steam and holds a pressed edge. That same responsiveness means a careless iron can shrink, shine, or distort it, so the craft is mostly in preparation and pressing.
Prepare and cut
Wool relaxes and shrinks with heat and moisture, so pre-shrink before cutting. Many sewists steam the yardage thoroughly with the iron hovering, or have the piece dry-cleaned or "London shrunk," rather than washing suiting that is meant to be dry-cleaned. Cut on grain, in a single layer for accuracy on checks and stripes, and match any pattern across seams. Use a fresh universal needle around 90/14 for mid-weight suiting, going heavier for coating, with a stitch length of roughly 2.5 to 3.
Interface for structure
| Match the weight | Keep the interfacing weight adjacent to the fabric weight, so it supports without stiffening. Too heavy reads as cardboard; too light gives no shape. |
| Weft-insertion fusible | A weft-insertion fusible (often called weft or 'whisper weft') is a common tailoring choice: cut it on grain for structure, or on the bias for a softer roll such as a lapel. |
| Consider sew-in | Wool presses at a lower heat than some fusible glues need, so a fusible can wrinkle or fail to bond; a sew-in canvas is often better for a structured jacket front. |
| Always test | Fuse a sample to a scrap of the actual wool and check the bond, the hand, and whether the adhesive shows through before committing. |
For choosing between fusible and sew-in more generally, see how to choose interfacing.
Press like a tailor
Wool and dry heat do not mix, so always press through a press cloth and use steam to mould the cloth, resting no more than about ten seconds in a spot to avoid scorching or shining the surface. The tailoring secret is the clapper: after steaming a seam, press a wooden clapper down onto it and hold. The wood absorbs the moisture and its weight sets the fibres in a crisp, flat position, giving edges and seams a sharp finish no amount of ironing alone achieves. Press seams open over a ham on curves, and test heat on a scrap, since some blends shine easily.
Pressing is not a final step in wool work; it happens after every seam. Pressing a seam open and flat before it is crossed by another is what keeps a jacket from looking lumpy.
Grade the bulk
Wherever seams stack, such as a collar, lapel, or front facing, grade the allowances by trimming each layer to a different width so the seam tapers instead of forming a hard ridge, and clip or notch curves so they lie flat. Under-stitch or edge-stitch facings to keep them rolled to the inside. See the seam finishes visual guide for edge options and how to adjust a sewing pattern to fit before cutting expensive wool.
Sources and decision boundaries
The preparation, interfacing, pressing, and grading methods here follow established references such as Mood Fabrics on sewing with wool, the American Sewing Guild's tailoring tricks, and Core Fabrics on interfacing wool. Exact needle, interfacing, and pressing choices depend on the specific wool and are confirmed on a scrap, which this guide does not replace.
Do I need to pre-shrink wool suiting before sewing?
Yes. Wool relaxes and shrinks with heat and moisture, so pre-shrink before cutting, either by steaming the yardage thoroughly with a hovering iron or by having it dry-cleaned or professionally shrunk. This prevents the finished garment shrinking or distorting the first time it is pressed or cleaned.
What interfacing should I use for a wool jacket?
Match the interfacing weight to the wool so it supports without stiffening. A weft-insertion fusible is a common tailoring choice, cut on grain for structure or on the bias for a soft lapel roll, but because wool presses at a lower heat a sew-in canvas is often better for a structured front. Always fuse a test sample to a scrap first.
How do you press wool without making it shiny?
Always press through a press cloth with steam rather than a dry iron directly on the cloth, and rest no more than about ten seconds in one spot. Use a clapper to set seams flat after steaming, press curves over a ham, and test heat on a scrap, since some blends shine easily.
What is a clapper and do I need one?
A clapper is a shaped block of hardwood pressed onto a seam right after steaming. It absorbs the moisture and its weight sets the wool fibres in a crisp, flat position, giving sharp edges and flat seams that ironing alone cannot. It is the single most useful tailoring press tool for wool.