How to Adjust a Sewing Pattern to Fit: The Common Changes and the Order to Make Them
Compare the pattern's finished measurements to your body, then work the common fit adjustments (bust, sway back, shoulder, length) in the right order and confirm each on a muslin.
Established sewing-fit references reviewed for the common flat-pattern adjustments, the sequence in which they are worked, and the role of the muslin; no universal set of measurements, ease values, or adjustment amounts is prescribed, and fit is confirmed on the individual body.
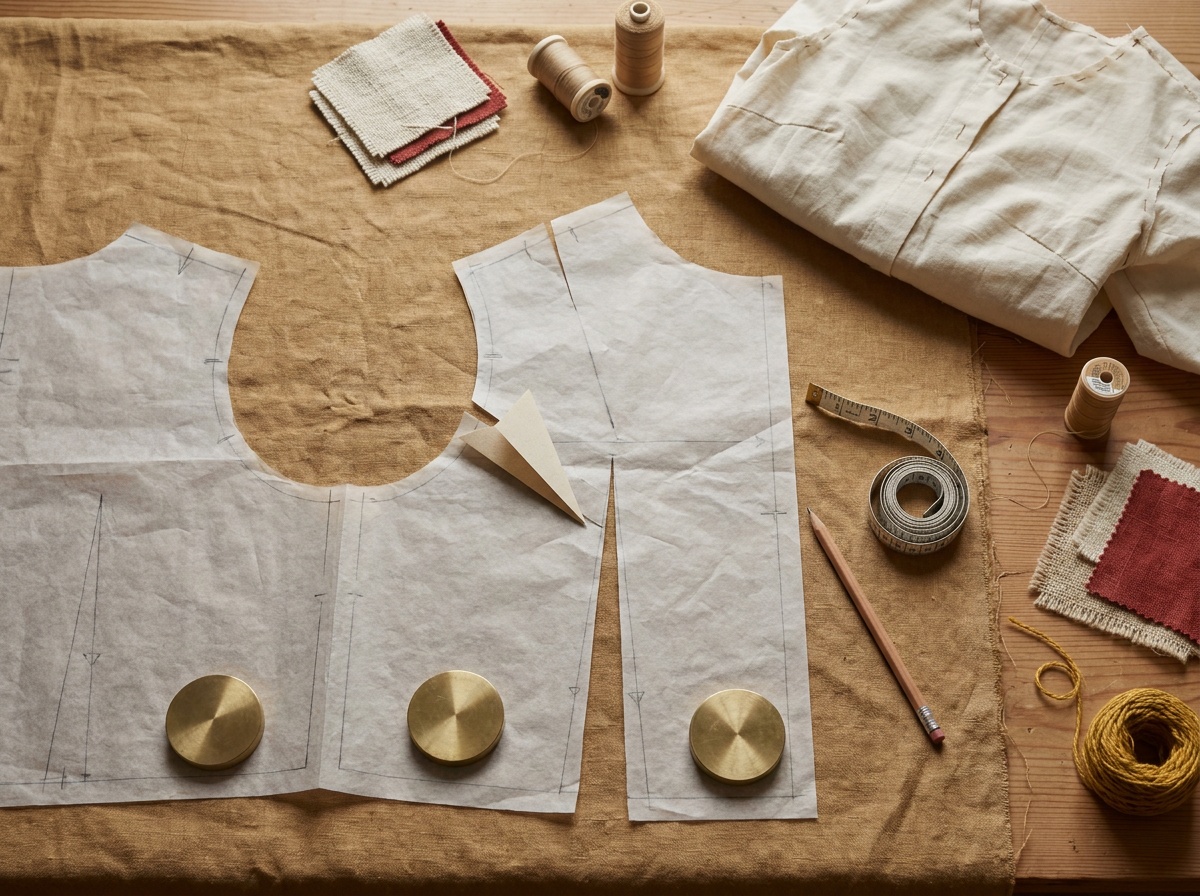
Start by comparing the pattern's finished-garment measurements, not the body-measurement size chart, to your own measurements plus the ease you want, and pick your size from that. Then sew a muslin and make one adjustment at a time in a set order: length first, then bust and waist or hip width, then back and posture shapes such as a sway back, and shoulders last, so an early change does not distort a later one. The common adjustments are the full or small bust adjustment, the sway back adjustment, broad or narrow shoulders, and simple lengthening or shortening. A flat-pattern change is a starting point that the muslin confirms.
Most fit problems are not sewing mistakes; they are a mismatch between a pattern drafted for one standard body and the specific body in front of it. Adjusting the flat pattern before you cut the real fabric is how you close that gap. The work is methodical rather than hard: read the right numbers off the pattern, change one thing, and check it on a test garment.
Choose the size from the finished measurements
Commercial patterns include a body-measurement size chart and, separately, the finished-garment measurements of the sewn piece. The finished measurements are the ones that tell you how the garment will actually fit, because they already contain the designer's intended ease. Compare them to your body plus the ease you like, and choose the size that lands there, which is often not the size the body chart alone would suggest. For anything fitted through the chest, sizing a top or dress by the high bust measurement rather than the full bust usually gives a better shoulder and neck fit, and the bust itself is then handled with a bust adjustment.
Work the adjustments in order
The single habit that prevents most frustration is doing adjustments in a consistent sequence, because a change lower in the list can undo one made higher up.
| 1. Length | Lengthen or shorten the bodice, sleeve, and skirt at the marked lines first, so later changes happen on a piece that is already the right length. |
| 2. Girth | Add or remove width for bust, waist, and hip. The bust adjustment belongs here because it changes both width and the dart. |
| 3. Shape and posture | Sway back, rounded back, and similar changes that remove or add fabric to follow the body's curve. |
| 4. Shoulders | Broad, narrow, sloped, or square shoulder changes come last, because the shoulder and armscye are affected by several of the earlier steps. |
The common adjustments
| Full bust adjustment (FBA) | Adds width and length to the front bodice for a fuller bust, since most patterns are drafted for a B or C cup. The front piece is slashed and spread, and the extra fabric is taken up in a dart or gathers so the waist stays clean. A small bust adjustment (SBA) does the reverse. |
| Sway back | Removes the horizontal fabric that pools just below the waist at the center back when the lower back curves in more than the pattern assumes. A wedge is taken out of the back piece above the waist. |
| Broad or narrow shoulder | Widens or narrows the shoulder out to the armscye when sleeves pull or drop off the shoulder. It can often be diagnosed from your shoulder measurement before you even sew a muslin. |
| Lengthen or shorten | Adds or removes length at the lengthen-and-shorten lines on the bodice, sleeve, or skirt, keeping the alteration parallel so the side seams still match. |
Each of these is a slash-and-spread or slash-and-overlap of the paper pattern: you cut along a defined line, then either open a gap to add or overlap to remove, and true up the cutting lines afterward. The amounts are individual, which is why the muslin does the deciding rather than a fixed table.
A flat-pattern change is a hypothesis, not a result. Sew the adjusted pieces in a cheap fabric of similar weight and stretch, wear it, and look for pulling, pooling, or gaping. Pin out or slash open what still does not fit, then transfer those exact changes back to the paper before cutting your real fabric. One good muslin saves the garment.
Change one thing at a time
It is tempting to make several adjustments at once, but stacked changes hide which one did what. Make a single adjustment, check it on the muslin or against the flat pattern, then move to the next in the order above. Keep the original pattern or a traced copy untouched so you can always return to a known starting point, and note the amounts you used, since a body that needs a given change on one pattern usually needs something similar on the next.
Sources and decision boundaries
Fit adjustment is individual and confirmed on the body, not set by a universal table. Accessible references for the specific methods include the Seamwork guide to full bust adjustments, the Curvy Sewing Collective FBA guide, Tilly and the Buttons on bust, back, and shoulder adjustments, and Melly Sews on shoulder adjustments. This guide gives the workflow and the order; it does not prescribe measurements, ease, or adjustment amounts for a specific body or pattern, which the muslin decides.
What is a full bust adjustment?
It is a pattern change that adds width and length to the front bodice for a fuller bust, because most patterns are drafted for a B or C cup. You slash and spread the front piece to add room, then take up the extra fabric in a dart or gathers so the waist still fits. A small bust adjustment reverses it for a smaller bust.
How do I know what size to cut?
Compare the pattern's finished-garment measurements, which already include the intended ease, to your body plus the amount of ease you like, and choose from those rather than the body-measurement chart alone. For fitted tops and dresses, size by your high bust measurement for a better shoulder and neck fit, then handle the bust with a bust adjustment.
What order should I make fit adjustments in?
Length first, then girth adjustments for bust, waist, and hip, then shape and posture changes such as a sway back, and shoulder adjustments last. Working in this order stops an early change from distorting a later one, since the shoulder and armscye in particular are affected by several earlier steps.
Do I really need to sew a muslin?
For a fitted garment, yes. A flat-pattern change is only a prediction; a muslin in a similar-weight fabric shows what actually happens on your body. Adjust the muslin until it fits, transfer those changes to the paper, and you protect your real fabric from an expensive guess.
How do I fix fabric pooling at my lower back?
That is the classic sign of a sway back, where the lower back curves in more than the pattern assumes. It is corrected by removing a horizontal wedge from the back piece above the waist so the extra length is taken out, then confirming the amount on a muslin, since it varies from body to body.