Pattern Grading Explained: Grade Rules and Size Charts
How one sample pattern becomes a full size run, what a grade rule specifies, and why grading isn't the same as scaling a photo.
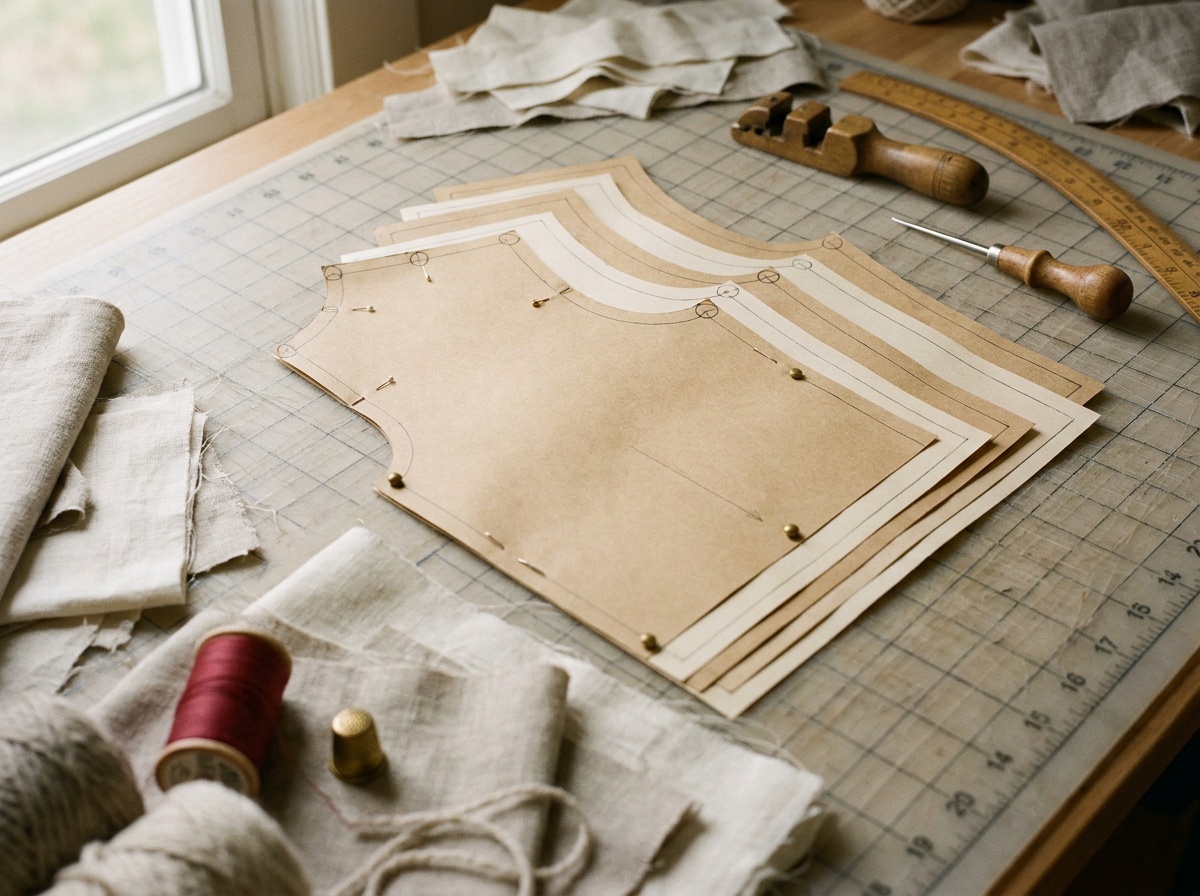
Pattern grading is the process of scaling an approved base pattern up and down to produce every size in a size run, without distorting fit or proportion. It is not uniform scaling. A grade rule is the fixed increment one point of measure (POM) changes by between sizes, and that increment is split across several specific points on the pattern piece rather than applied all at once. A size chart states the target finished measurements per size; grade rules are the mechanism a pattern maker uses to hit them from a single sample.
Grading is the step between "one sample fits" and "every size fits." Skip it or get it wrong, and a brand ends up with a small run and a large run that don't look like the same garment.
What pattern grading is
A pattern always starts as one size: the base size, sometimes called the sample size or foundation size. It's the size the first sample is cut in, fitted on a body or form, and approved. Every other size in the run is derived from that one approved pattern by grading it up and down.
Grading is not a percentage blow-up of the whole shape. A pattern maker doesn't take the size 8 bodice and scale it 110% to get a size 10. Instead, specific points on the pattern move by specific, predetermined amounts, so the neckline, shoulder slope, and armhole keep their proportion while the circumference measurements grow at the rate the brand wants. This is why two garments in different sizes from the same brand still look like they belong to the same design.
Grade rules, grade points, and graded spec sheets
These three terms get used loosely, but they refer to distinct things.
| Base size (sample size) | The one size the first fit sample is built and approved on |
| Grade rule | The fixed increment one point of measure changes by, per size step |
| Grade point | A specific spot on the pattern piece, such as the neckline or shoulder, that takes part of the total increment |
| Graded spec sheet | Full measurements for every POM at every size, worked out from the grade rules |
| Nested pattern | All graded sizes stacked on top of each other, used to check the grade looks smooth |
A grade rule is a delta: chest circumference grows by 2 inches per size step, for example. A graded spec sheet is the result of applying that delta cumulatively from the base size outward, so it lists the full absolute chest measurement at every size, not the increment alone. Both documents carry the same information in a different shape. Grade rules are often the easier of the two to work with mid-sampling, since changing one increment updates the whole run rather than editing every cell in a spec sheet.
How a size run is built without distorting the shape
The total increment added to a circumference measurement, chest for example, is not added at one point on the pattern. It's split across several grade points on the pattern piece, each taking a fraction of the total.
Studio Faro documents a worked example on a womenswear bodice front that shows the mechanism clearly. The values are one documented case, not a fixed rule for every garment:
| Neckline grade point | 3mm (1/8 inch) |
| Shoulder line grade point | 3mm (1/8 inch) |
| Side body/underarm grade point | 6mm (1/4 inch) |
| Total, half-front piece | 12mm, doubled to 24mm (about 1 inch) per half-garment |
| Vertical grade, shoulder point to underarm | 6mm (1/4 inch) |
Doubled across the full body circumference, that half-front total works out to roughly 2 inches per size step for chest, a figure consistent with the general chest grade increments below. The point of the example isn't the specific millimeter values. It's that the neckline and shoulder points take a small, slow-growing share of the total increment while the side seam takes a larger share, which is why a size run's neckline stays roughly proportional across sizes while chest circumference visibly widens.
Different body regions grow at different rates across a size range, and this isn't a brand style choice. It reflects how body measurements vary with size. Shoulder width and neckline grow slowly compared to chest, waist, and hip circumference. At larger sizes, commonly cited around size 16 and up in womenswear, this effect becomes more pronounced: shoulder width tends to stay close to constant while circumference measurements expand faster, because shoulder width is driven by bone structure and doesn't scale with weight the way circumference does.
Typical grade increments by garment area
The figures below are commonly used starting increments for adult wovens and knits in standard alpha or numeric size ranges. They vary by brand, market, garment category, and how fitted the garment is meant to be. Treat them as a reference point for building a grade rule set, not a fixed formula.
| Chest/bust | 1 inch to 2 inches |
| Shoulder width | 1/4 inch to 1/2 inch |
| Body length | 1/4 inch to 1 inch |
| Sleeve length | 1/4 inch to 1/2 inch |
| Neck width | 1/8 inch to 1/4 inch |
| Waist | 1 inch to 2 inches |
| Hip | 1 inch to 2 inches |
| Inseam | 1/4 inch to 1/2 inch |
| Outseam | 1/2 inch to 3/4 inch |
| Thigh | 1/4 inch to 1/2 inch |
Two other things affect which end of these ranges a brand should use.
Fit intent changes the increment. A close-to-body garment grades tighter than a relaxed one, since there's less ease to absorb a jump between sizes. A dress shirt is a common example: chest commonly grades at 1.5 inches rather than a full 2 inches, and neck at 0.5 inch per full size, because the garment sits close to the body and a full 2-inch jump would create a visible fit gap at the boundary between sizes.
Region affects the base increment too. Europe commonly uses a 4cm horizontal circumference increment between sizes; the US and Australia commonly use 2 inches (about 5cm). Neither is more correct. What matters is applying one increment consistently across the whole grade rule set rather than mixing systems.
Grade increments also aren't always linear across an extended size range. It's common to use smaller increments through the lower and mid sizes and larger increments at the upper end of a range, for example roughly 1 inch through the low-mid sizes stepping up toward 1.5 to 2 inches at the largest sizes. This reflects real variation in body shape increasing at larger sizes. It's common practice, not a fixed formula, and varies by brand.
The two-size rule
A widely repeated convention in pattern making: don't trust a single grade rule set more than two sizes away from the base sample without checking fit again. Past roughly two sizes in either direction, body proportions change shape rather than only scale, so a straight-line grade increasingly distorts fit at the extremes of a size range.
For size ranges larger than that, the common practice is to grade in stages, checking fit after each stage, or to re-draft and fit a new sample at the far end of the range rather than trust an extrapolated grade rule that far out. This applies most strictly to fitted or tailored garments. Knits with stretch tolerate a wider grade range before the distortion becomes visible on the body.
How grading gets done
| Cut-and-spread | Cut the pattern along grade lines, spread or overlap by the increment, then true the lines. Manual. |
| Pattern shifting/redraft | Move key points by fixed increments and redraw, without cutting. Manual. |
| Computerized/CAD grading | Grade rules entered into pattern software, which plots every size automatically. Standard at production scale. |
Manual grading is mostly taught to explain the concept rather than used at commercial scale today. Production grading runs through CAD pattern software (Gerber, Lectra, Optitex, and similar systems), where a base pattern plus a grade rule table generates the full nested pattern automatically.
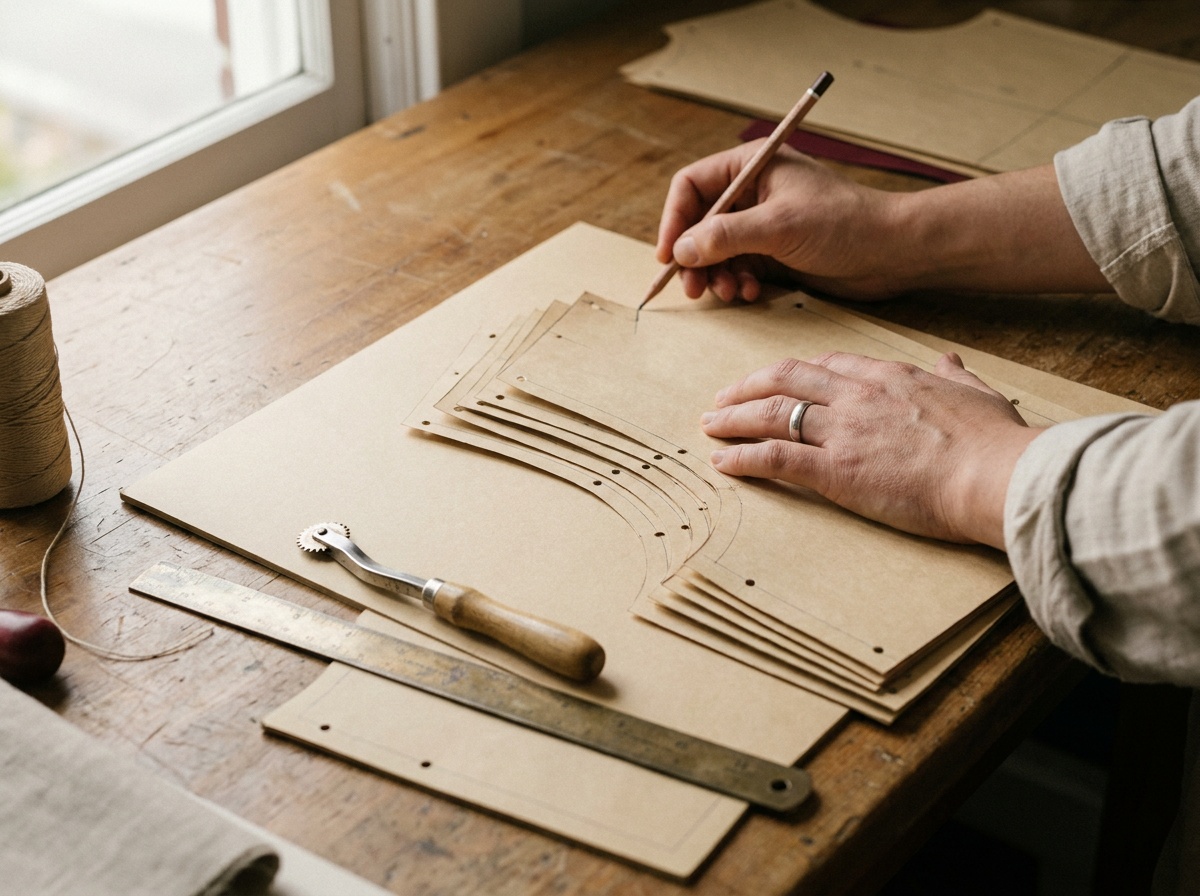
A nested pattern is the stacked outline of every graded size shown on top of each other. It's a visual check a pattern maker uses to confirm the grade progresses smoothly across the run, with no size jumping oddly out of line compared to its neighbors. It's a real term that shows up on a factory's pattern file, worth recognizing even if a founder never builds one directly.
Size chart vs. grade rules: two different documents
Founders often conflate these, and a factory needs both, not one.
A size chart is the target: the finished absolute measurement for each size, the numbers presented to customers and the numbers a factory fits toward. Building a size chart is a design and fit decision, informed by the target customer's body measurements.
Grade rules are the mechanism: the deltas applied to the approved base pattern that get the pattern maker from one sample to every size in the chart. Grading is technical execution, not a design decision, and it's what lets a factory produce a full size run from a single approved fit sample instead of sampling and approving every size individually.
What a factory needs from a brand submission is a base sample plus either a grade rule set or a full graded spec sheet, not a size chart alone. A size chart tells the factory what the end result should measure. It doesn't tell them how to get every intermediate size there from the one sample that's already been fitted.
Grading tolerance isn't governed by a separate published standard. In practice it follows the same point-of-measure tolerance stated in the garment's tech pack spec sheet, commonly plus or minus 1/4 inch. A graded size that falls outside that tolerance at any point of measure needs a fit check, the same as a first sample would.
Work with a technical designer.
Building a grade rule set for a first production run? Getting the increments and grade points right before they go to a factory saves a sampling round if the run turns out to need adjustment size by size.
Do I need to hire someone to grade my pattern, or can I do it myself?
Understanding grade rules helps you review a factory's work, but production grading is usually done by a pattern maker or technical designer using CAD software. Most small DTC brands rely on their factory's in-house grading rather than grading patterns themselves.
How many sizes should my first size run include?
There's no fixed number, but a smaller initial run, often 4 to 6 sizes, keeps the base grade rule set within the two-size-from-sample range where a single straight-line grade holds up without a re-fit check at the extremes.
Does grading work the same way for knits as it does for wovens?
The same non-uniform grading principle applies, but knit garments with stretch tolerate a wider grade range before fit distortion becomes visible, since the fabric itself absorbs some of the size difference that a rigid woven would show at the seams.
What's the difference between a grade rule and a size chart?
A size chart lists the target finished measurements for each size. Grade rules are the increments a pattern maker applies to the base pattern to reach those measurements. A factory needs a base sample plus grade rules or a graded spec sheet to build a size run, not a size chart on its own.
Reviewed by Karolyn, Technical Apparel Designer · kellyhouse.studio