How to Sew with Satin
Sew slippery satin without shifting seams, snags, or shine: stop the layers sliding, use a fine needle and a longer-supported stitch, and press it cool so the surface survives.
Established sewing references reviewed for controlling slippage, fine needle and thread choice, stitch and tension settings, seam slippage, and pressing satin-weave fabrics; no universal settings are prescribed and are confirmed on a scrap of the specific satin.
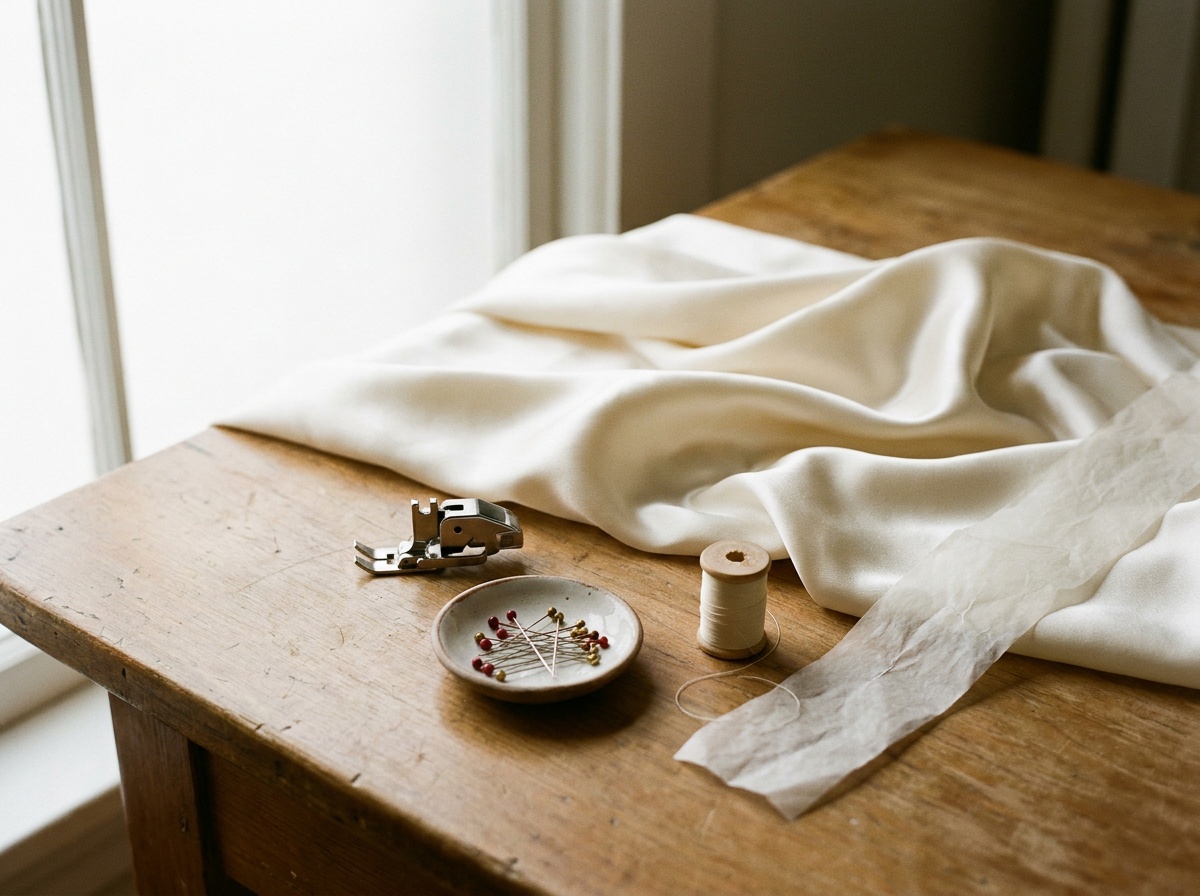
Satin is a weave, not a fibre, and its long floating threads make it lustrous, slippery, and prone to snagging and seam slippage. Control the slipperiness first: cut a single layer on a non-slip surface or over tissue paper, hold seams with a walking foot, tissue paper, or basting tape rather than relying on pins, which mark. Use a fresh fine microtex needle (60/8 to 70/10) with fine polyester thread, a stitch of about 2 to 2.4 mm, and slightly reduced tension and presser-foot pressure so seams do not pucker or the threads slip apart. Most satin is synthetic and heat-sensitive, so press cool through a press cloth by lifting and lowering, never sliding, and test everything on a scrap.
Satin's problems all come from its construction. The satin weave floats long threads on the surface for shine, and those floats slide over each other, snag on rough skin or pins, and can pull away from a seam under strain. Work with the weave and it sews cleanly.
Stop it sliding
Cut satin in a single layer where accuracy matters, on a surface that grips, or lay it over tissue paper and cut through both. A rotary cutter shears cleaner than shears, which lift and drag the slick cloth. Weight the pattern or pin only inside the seam allowance, because pin holes show permanently on a satin face. Handle it with clean, snag-free hands, since a rough nail catches the floats.
Needle, thread, and stitch
| Needle | A fresh, sharp microtex needle in a small size, roughly 60/8 to 70/10. A blunt or large needle snags the floats and leaves holes. Start a satin project with a new needle. |
| Thread | Fine polyester thread, matched closely to the colour. It has a little give and sinks into the seam rather than sitting on the shiny surface. |
| Stitch length | About 2 to 2.4 mm. Too short and the seam puckers; too long and the fabric slips between the stitches. |
| Tension and pressure | Reduce the thread tension and the presser-foot pressure slightly so the seam lies flat and the layers are not stretched or shoved. Dial both in on a scrap. |
Beat seam slippage
Seam slippage, where the threads slide and gape beside a seam under strain, is the satin-specific failure. A walking foot feeds both layers together and is the single biggest help, acting as a second set of feed dogs so the top layer cannot creep. For extra control, sew over a strip of tissue paper laid between or on top of the layers and tear it away after, or hold the seam with basting tape (a wash-away double-sided tape) inside the allowance. Keep seams on grain where you can, since bias-cut satin slips more, and sew slowly. Test the seam on a scrap at the real seam angle before committing.
Match the wider seam-finish choice to the fabric weight in the seam finishes visual guide, and for needle-to-fabric matching see the sewing machine needle guide. Silk satin (charmeuse) behaves differently from polyester satin; the guide to sewing with silk and rayon covers the silk side, and the satin cloth profile sets out what to verify in a given piece.
Press it cool
Most satin sold today is polyester or a synthetic blend, and a hot iron will glaze, shine, or melt it. Press on a low setting through a press cloth, and lift and lower the iron rather than sliding it, which can distort the weave and mark the surface. Press seams open gently, and always test heat on a scrap first, since some satins mark with very little heat.
Sources and decision boundaries
The slippage-control, needle, stitch, and pressing methods here follow established references such as Closet Core Patterns on slippery fabrics, Longan Craft's tips for sewing satin, and Wunderlabel's tips for sewing satin. Exact needle, stitch, tension, and heat settings depend on the specific satin and its fibre and are confirmed on a scrap, which this guide does not replace.
Why do the seams on satin pull apart or gape?
That is seam slippage: the long floating threads of the satin weave slide away from the stitching under strain. Support the seam with a walking foot so both layers feed together, sew over tissue paper or use basting tape inside the allowance, keep seams on grain where possible, and sew slowly. Test the seam on a scrap first.
What needle and thread should I use for satin?
A fresh, sharp microtex needle in a small size, roughly 60/8 to 70/10, with fine polyester thread matched to the colour. A new needle matters because a blunt or large one snags the surface floats and leaves visible holes.
How do I stop satin slipping while I cut and sew?
Cut a single layer on a grippy surface or over tissue paper with a rotary cutter, weight the pattern or pin only in the seam allowance since pin holes show, and use a walking foot when sewing. Reducing the presser-foot pressure and sewing slowly also keep the layers from creeping.
Can you iron satin?
Only carefully. Most satin is synthetic and a hot iron glazes, shines, or melts it. Press on a low setting through a press cloth, lifting and lowering the iron rather than sliding it, and test heat on a scrap first, since some satins mark with very little heat.