How to Crochet in the Round
Start a flat circle or a seamless tube: make a magic ring, choose spiral or joined rounds, place increases so a circle lies flat, and mark the round so you never lose your place.
Reviewed crochet references for the magic ring, spiral versus joined rounds, turning chains, and increase placement for flat circles; exact stitch counts and increase rates are pattern- and stitch-specific and confirmed on your own work, and no pattern is prescribed.
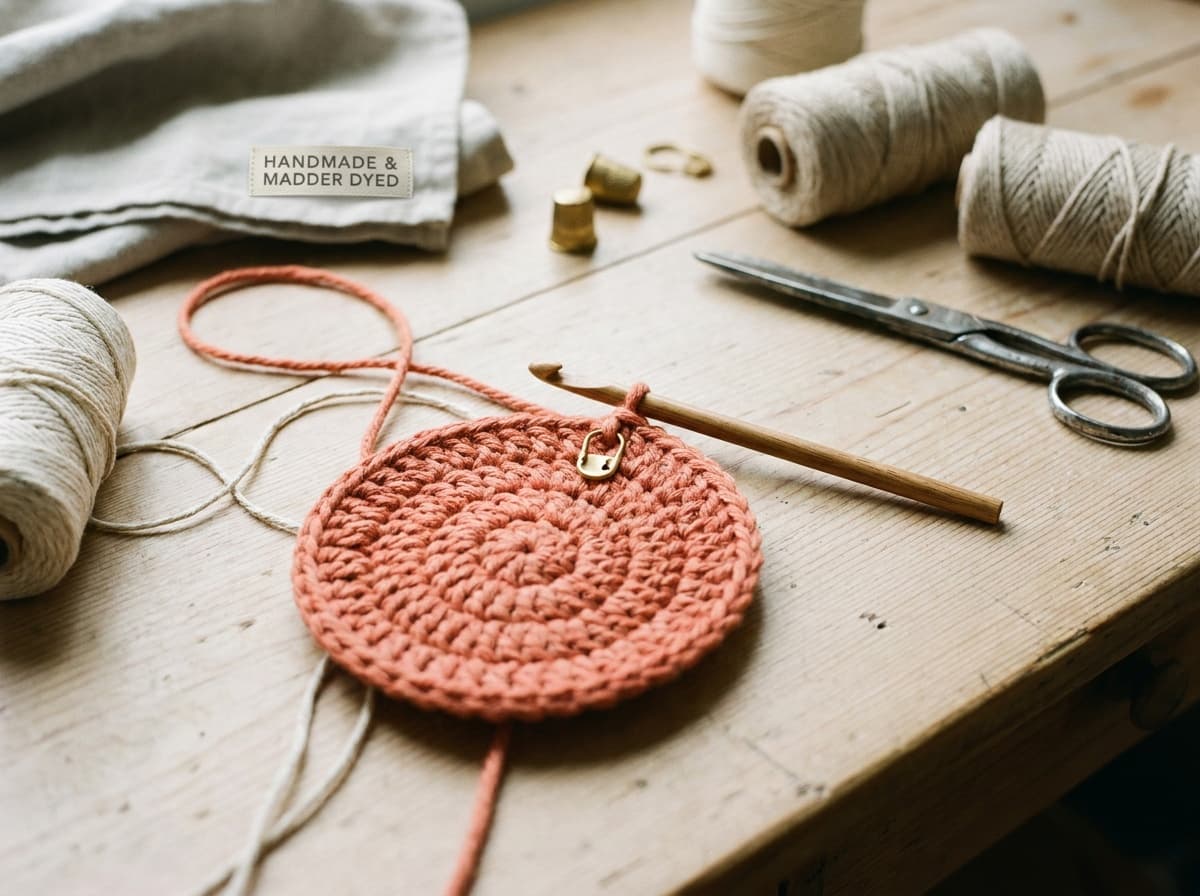
Crocheting in the round builds circles and tubes from the centre out instead of back-and-forth rows. Most projects start with a magic ring (an adjustable loop you crochet into and then pull tight, closing the centre hole), then continue in one of two ways: a continuous spiral, where you never join and simply keep going around — used for amigurumi and most single-crochet tubes — or joined rounds, where you slip-stitch to close each round and chain up to start the next, used for taller stitches and defined-edge pieces like granny motifs. To keep a circle flat, add the same number of increases every round; too few and it cups, too many and it ruffles. Always mark the first stitch of the round, because in a spiral it is genuinely hard to find otherwise.
Working in the round is the basis of hats, bags, motifs, and amigurumi. Two decisions shape it: how you start the centre, and whether you spiral or join each round.
Start with a magic ring
The magic ring (also magic circle or adjustable loop) is the standard start because it closes tight with no hole in the middle, which matters for stuffed and solid pieces. You form a loop of yarn, work your first round of stitches into that loop, then pull the tail to cinch the centre closed. The common alternative, chaining a few and joining into a ring, is easier for absolute beginners but leaves a small hole that can loosen. For anything stuffed, the magic ring is worth learning.
Choose spiral or joined rounds
| Continuous spiral | Do not join at the end of a round; just keep crocheting into the next stitch and spiral upward. It leaves no seam line, which is why amigurumi and single-crochet tubes use it. You must use a stitch marker, because there is no obvious round boundary. |
| Joined rounds | At the end of each round, slip-stitch into the first stitch to close it, then chain up to the height of your next stitch to begin. This gives a defined round edge and is used for taller stitches and motifs, but leaves a visible join seam. |
| Turning chains by stitch | When joining, the starting chain matches the stitch height: about one chain for single crochet, two for half double, three for double. Continuous spirals are practical mainly with short stitches like single crochet. |
| Mark the first stitch | In a spiral especially, place a removable marker in the first stitch of the round and move it up each round, so you always know where the round begins and can keep your increase placement correct. |
Keep a flat circle flat
A flat crochet circle grows by adding the same number of stitches every round — classically six for a single-crochet circle started with six stitches (12, 18, 24, and so on). If it cups up into a bowl, you are increasing too slowly for the stitch and yarn; if it ruffles and waves, you are increasing too fast. Staggering where the increases fall from round to round keeps the circle round rather than hexagonal. If your circle misbehaves even at the pattern's increase rate, your gauge or hook may be off, so check gauge on a scrap. A tube (like a hat body or amigurumi) is just a circle that stops increasing and works straight.
For the stitches themselves, see the crochet stitch library; to start amigurumi specifically, the amigurumi basics guide builds directly on the magic ring and spiral; and for reading round-based charts, see how to read a crochet chart.
Sources and decision boundaries
The magic-ring, spiral-versus-joined, and increase methods here follow crochet references including PlanetJune on how to crochet a magic ring, Sarah Maker on the crochet magic ring, and One Dog Woof on crocheting in the round. Exact stitch counts and increase rates depend on the pattern, stitch, and yarn and are confirmed on your own work; this guide does not prescribe a pattern.
FAQ
What is the difference between spiral and joined rounds?
In a continuous spiral you never join: you keep crocheting into the next stitch and the work spirals up with no seam, which suits amigurumi and single-crochet tubes but needs a stitch marker to track the round. In joined rounds you slip-stitch to close each round and chain up to start the next, giving a defined edge for taller stitches and motifs but leaving a visible join.
Why does my crochet circle curl up or ruffle?
It is an increase-rate problem. If the circle cups into a bowl, you are adding too few stitches per round for the stitch and yarn; if it ruffles and waves at the edge, you are adding too many. Use the pattern's increase rate, stagger the increases so it stays round, and check your gauge if it still misbehaves.
Do I have to use a magic ring?
No, but it is the best start for a closed centre. The magic ring cinches tight with no hole, which matters for stuffed pieces like amigurumi. Chaining a few stitches and joining into a ring is easier for beginners but leaves a small hole that can loosen over time.
How do I keep track of where a round starts in a spiral?
Put a removable stitch marker in the first stitch of the round and move it up as you begin each new round. In a continuous spiral there is no join to mark the boundary, so without a marker it is very easy to lose count and misplace your increases.