How to Sew with Velvet
Sew velvet without crushing it or fighting shifting seams: cut with the nap in one direction, stop the layers creeping, and steam-press the pile without flattening it.
Established sewing references reviewed for nap direction and layout, controlling shift, needle choice, and pressing pile fabrics such as velvet; no universal settings are prescribed and are confirmed on a scrap of the specific velvet.
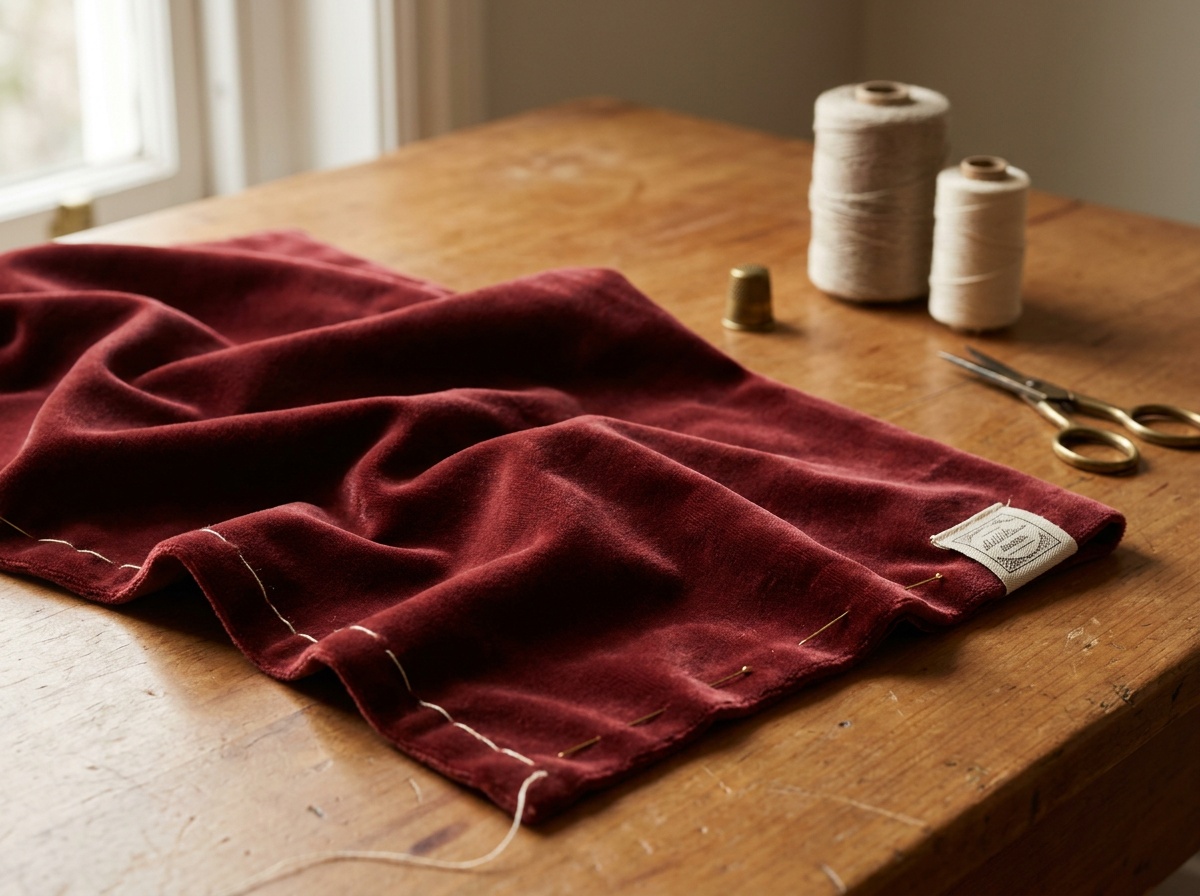
Velvet has two problems: a pile with a direction that changes its colour, and slippery layers that creep as you sew. Cut every piece the same way following the nap, running the pile so it feels smooth downward, and sew in that direction. Stop the layers shifting by hand-basting each seam before machine sewing, lowering the presser-foot pressure, and using a walking foot. Never press velvet flat, which crushes the pile for good; instead steam it face down on a scrap of velvet or a needle board and finger-press. Mark on the wrong side with tailor's tacks, not a tracing wheel, and test everything on a scrap.
Velvet reads as difficult because two things go wrong at once: the nap makes colour shift if pieces face different ways, and the smooth pile lets the layers slide apart under the foot. Both are solved by slowing down and protecting the pile.
Cut with the nap in one direction
Velvet has a definite nap, the lie of the pile. Stroke the right side and it feels smooth in one direction and rough against it. Because the pile catches light, the fabric looks a richer, deeper colour when the pile runs up and a lighter sheen when it runs down, so pieces cut in different directions look like different fabrics. Choose one direction for the whole garment, mark it on every piece, and lay them all the same way using the pattern's with-nap requirement. Many sewists run the pile upward for the deepest colour, but the rule that matters is that all pieces match.
Stop the layers creeping
| Hand-baste first | The single most effective step. Baste each seam by hand before machine sewing, so the pile cannot slide the layers apart. It is faster than unpicking a crept seam, and a diagonal basting stitch holds best. |
| Lower presser-foot pressure | High pressure pushes the top layer forward and can scar the pile. Ease the pressure so the fabric passes without being dragged or marked. |
| Walking foot | Feeds the top and bottom layers together, which both prevents creeping and reduces the crushing a standard foot can leave. |
| Sew in the nap direction | Stitch in the same direction the pile lies so the foot smooths the pile rather than fighting it. |
Use a fine needle to match the velvet: a microtex or universal in a small size for woven velvet, or a ballpoint or stretch needle for stretch velvet, which is a knit. Fine polyester thread suits both. Mark on the wrong side with tailor's tacks or thread, since a tracing wheel or chalk can dent or show on the pile.
Press without crushing the pile
An iron set down on velvet flattens the pile and leaves a permanent shine, and even the pressure of the feed dogs can mark it. Do not press it face up on a hard surface. Instead work on the wrong side, lay the velvet pile-down onto a needle board or a spare piece of velvet or a thick terry towel so the pile nests into it, and use plenty of steam with a barely-there touch, letting the steam rather than the weight of the iron relax the seam. Finger-press seams open first, and always test on a scrap.
Sources and decision boundaries
The nap, shift-control, needle, and pressing methods here follow established references such as Threads on sewing velvet, the Seamwork beginner's guide to velvet, and By Hand London. Exact needle, pressure, and pressing method depend on the specific velvet and are confirmed on a scrap, which this guide does not replace.
Which direction should the nap run on velvet?
Choose one direction for the whole garment and cut every piece to match, using the pattern's with-nap layout. The pile looks a richer, deeper colour running up and lighter running down, so mismatched pieces look like different fabrics. Many sewists run the pile up for depth, but the essential rule is that all pieces face the same way.
How do I stop velvet layers from shifting when I sew?
Hand-baste each seam before machine sewing, which is the single most effective fix, then lower the presser-foot pressure and use a walking foot so the layers feed together. Sewing in the direction of the pile also helps the foot smooth the nap rather than push it.
How do you press velvet without ruining it?
Never press it flat on a hard surface, which crushes the pile permanently. Work on the wrong side with the velvet lying pile-down on a needle board, a scrap of velvet, or a thick towel, and use lots of steam with almost no pressure. Finger-press seams first and test on a scrap.
What needle should I use for velvet?
A fine microtex or universal needle in a small size for woven velvet, or a ballpoint or stretch needle for stretch velvet, which is a knit. Use fine polyester thread, and mark on the wrong side with tailor's tacks rather than a tracing wheel, which can mark the pile.