How to Photograph Your Finished Makes
Set up a repeatable window-light station, capture true color and stitch texture, choose flat lay, on-body, or hanger views by what each must show, and check every image against the destination's own requirements before publishing.
Current marketplace photo-upload help, a commercial home product-photography setup guide, and photography-education sources on white balance and histograms reviewed for photo requirements, home lighting setups, color casts, and exposure reading; no universal camera, exposure setting, light direction, backdrop, styling rule, platform requirement, or acceptance outcome is prescribed.
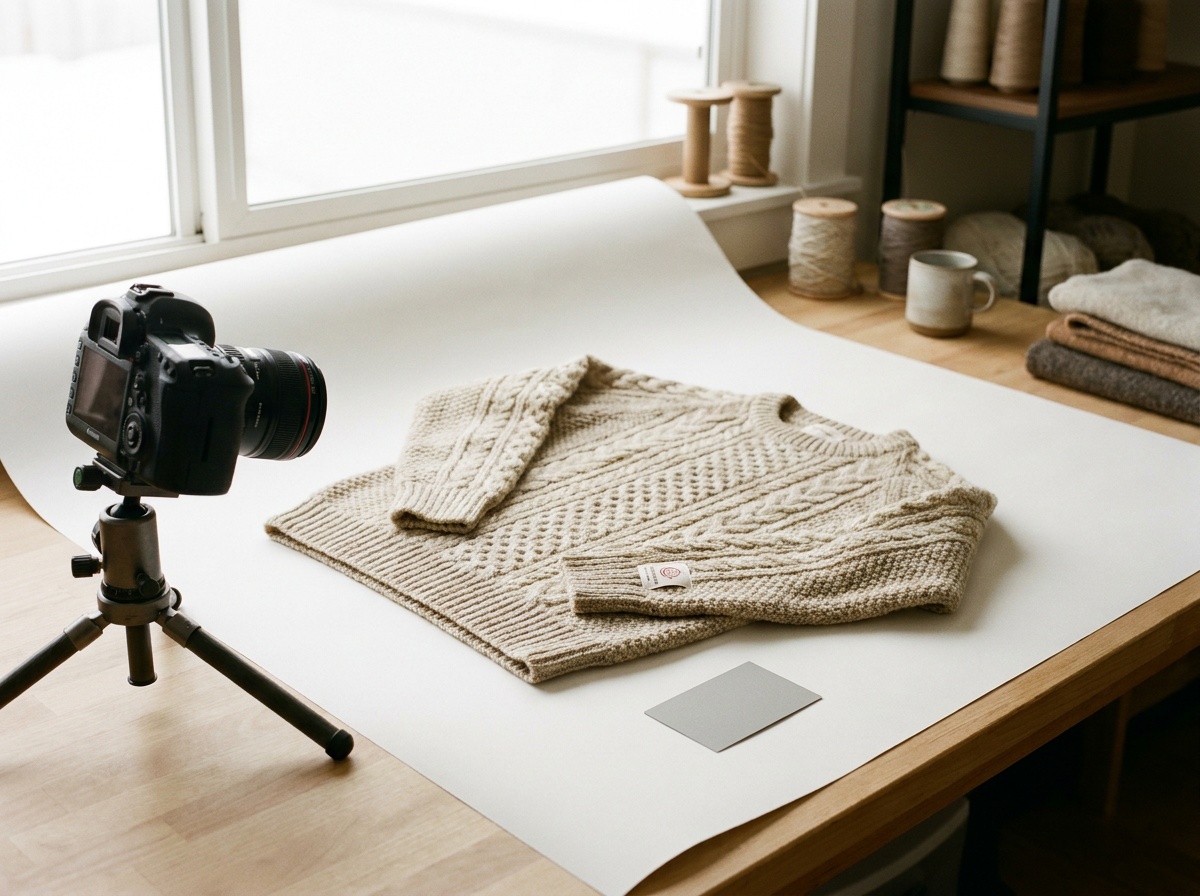
Decide what each photograph must prove before setting anything up: a portfolio image shows the standard of your work, a pattern-test image records a specific construction state for the designer, and a marketplace image is evidence a buyer relies on. Build one station you can describe and repeat: a large window or other broad light source, a plain sweep or pressed backdrop, a steady camera, and a recorded position for each. Verify color against a known neutral reference in the same light, read exposure from the histogram rather than the preview, and shoot a defined list of views: full item, construction details, texture at an angle that shows stitch definition, and any flaw a buyer or designer needs to see. Before publishing, check the destination's current photo requirements and confirm the image still matches the physical item.
A finished garment, quilt, or knit can take months of work and then be represented by one rushed photograph under a ceiling bulb. The problem is rarely the camera. It is an uncontrolled setup: mixed light sources, a busy background, no color reference, and no record of what the image was supposed to demonstrate. This guide treats photography of your makes the way the rest of this site treats materials and methods: define the requirement, control the setup, and keep the evidence.
Decide what each photograph must prove
The same sweater can need three different photographs:
- Portfolio or record photograph: shows the finished state, construction quality, and color for your own archive or a commission conversation. You set the acceptance rule.
- Pattern-test photograph: records the state the designer asked to see, such as blocked measurements, a specific construction stage, or fit on the intended body. The test brief controls what must appear; a pattern-test brief is the right place to record those photo requirements before you start.
- Marketplace or commission listing photograph: functions as evidence for a buyer. It must show true color, real texture, scale, and any flaw, because the buyer cannot handle the item.
Each destination has its own live rules. eBay's current picture help page states that a listing must include at least one picture, that the first picture becomes the main photo shown next to the title in search results, and that up to 24 pictures can be added. Those are that platform's current mechanics, not a cross-platform standard. Check the current help page for the exact marketplace, and record the requirement you built the shot list against and the date you checked it.
Set up one station you can repeat
A window-light station is the most accessible controlled setup for garment-scale work. Shopify's home product-photography guide describes a setup built from a table beside a large window, a plain sweep curving from wall to surface, a reflector filling the shadow side, and a tripod, and notes that a modern phone camera is workable because setup, lighting, and processing matter more than the camera body. Treat that as a candidate setup to test with your own items and room, not a guarantee of results.
Record, so you can rebuild the same station next month:
- Window or light source, time of day, weather, and any curtain or diffusion used
- Distance and angle from light to item, and from camera to item
- Backdrop material, color, and condition, and how it is supported
- Camera or phone, lens or zoom position, and how it is held steady
- Any reflector or fill card and its position
The sweep matters more than its price. A wrinkle-free length of wide paper, a pressed neutral sheet, or a purpose-made roll all work if the surface is plain and continuous behind and under the item. For quilt-scale work, a clean wall or a large design floor can serve as the sweep. Aperture Authority's walkthrough of photographing products at home with window light covers the same station at product scale, and their comparison of backdrops and stands is useful when a temporary sweep becomes a permanent one.
Turn off or block competing light sources while shooting. A window plus a warm ceiling bulb gives two different colors of light in one frame, and no single correction fixes both.
Capture true color with a reference, not by memory
Color accuracy is the difference between a record and a complaint. Cambridge in Colour's white balance tutorial defines white balance as removing unrealistic color casts so that objects that appear white in person render white in the photo, and notes that auto white balance can produce blue, orange, or green casts because light sources differ in color temperature. That is exactly the failure mode that makes a hand-dyed yarn or a navy fabric look wrong in a listing.
Control it instead of guessing:
- Place a known neutral reference in the first frame of each session: a photographic gray card, or at minimum a white object you have compared against one.
- Set or correct white balance from that reference, using the camera's custom white balance or the editor's neutral picker.
- Compare the corrected image with the physical item under the same light, and note any color that still reads wrong. Some dye colors shift differently under different light sources; record the light you matched under rather than claiming a universal match.
- Check the result on more than one screen before publishing, and state in a listing which frame best represents color.
Read exposure from the histogram rather than the preview image. Cambridge in Colour's histogram tutorial explains that a histogram shows how the image's brightness values are distributed and can tell you whether the image has been properly exposed. A white sweep pushed to pure white can drag a pale garment with it; a dark garment can block up into one shapeless mass. Adjust exposure until the fabric itself keeps detail, then let the background fall where it falls.
Show texture: light across the surface, not into it
Stitch definition is a lighting decision. Light coming from behind the camera flattens texture; light raking across the surface from the side throws each stitch column, cable crossing, quilting line, or seam into relief. For knits and crochet, work the item at an angle to the window until the stitch structure reads clearly in the frame, then record that angle with the rest of the station notes.
| Full view | The whole item, edge to edge, on the sweep or body, with nothing cropped. This is the frame most destinations use first. |
| Texture detail | Close frame with side light showing stitch definition, quilting, or weave. Focus on the stitches, not the color blob. |
| Construction details | Seams, hems, bindings, closures, pockets, buttonbands, and any finish you want judged or recorded. |
| True-color frame | The frame corrected against the neutral reference, noted as the color reference in a listing or test report. |
| Scale reference | A measurement, ruler, or stated size in frame or caption. Size claims belong to measurements, not to the photo alone. |
| Condition and flaws | Every flaw a buyer or designer needs to see, photographed clearly rather than styled away. |
Choose flat lay, on-body, or hanger by what must be shown
Each presentation answers a different question, and none of them is the single correct one:
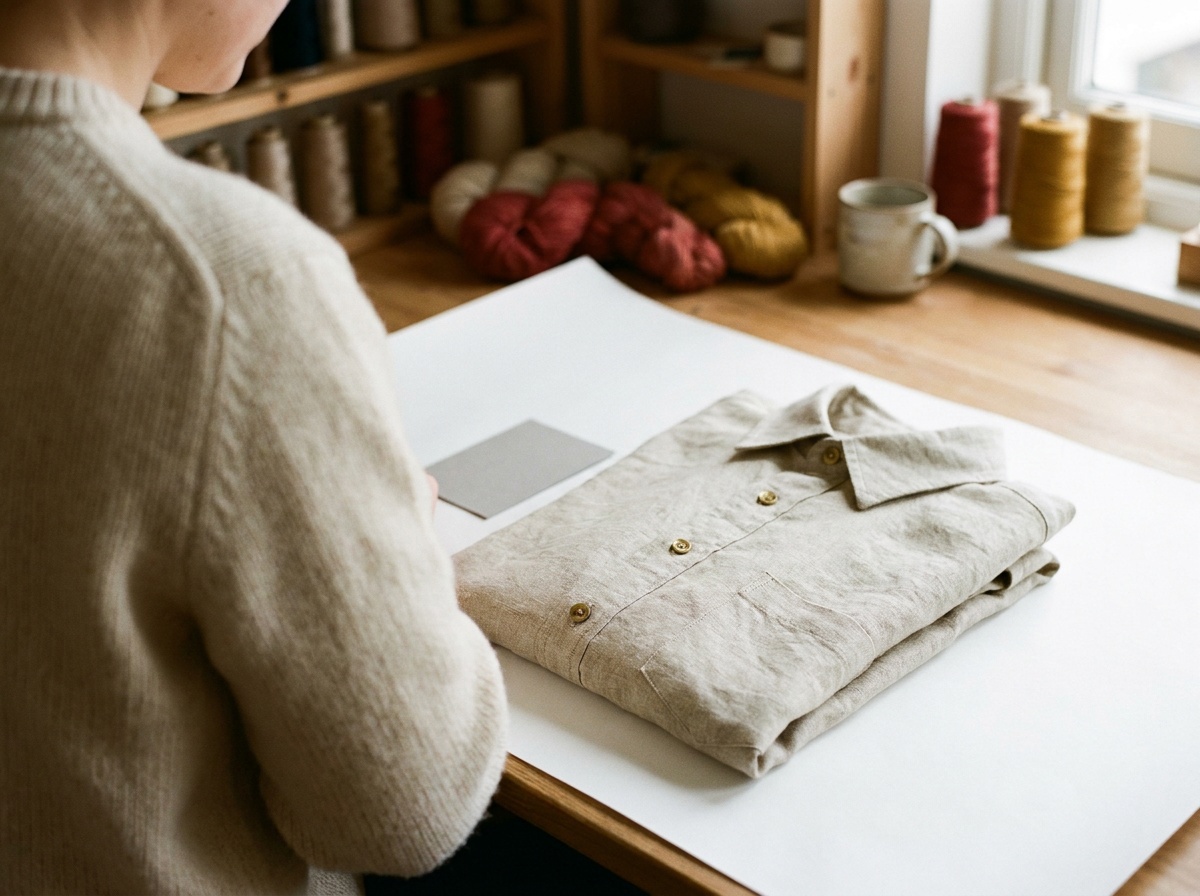
- Flat lay shows the true outline, proportions, and surface of the item, and suits quilts, blocked knits, and anything whose shape is the point. Shoot from directly above with the camera parallel to the surface, or the geometry distorts. Smooth the item and square the edges before framing.
- On-body or dress form shows drape, ease, and fit, which no flat photograph can. For a pattern test, the designer usually needs the garment on the body or form it was sized for, with the fit points visible. For a listing, state whose body or what form size is shown so the buyer can interpret the fit.
- Hanger shots are fast and show length and drape partially, but a hanger loads the shoulders in a way a body does not, and knits can stretch visibly during a long session. Use them deliberately and briefly, and prefer a form or flat lay for anything heavy or stretchy.
Shoot the same garment more than one way when the destination allows several images. The full set answers questions a single frame cannot.
Style the shot without hiding the work
Simple styling is preparation, not decoration. Steam or press the item, remove lint and stray threads, block knits before the session rather than after, and trim yarn ends. Add at most one or two contextual props that do not touch or obscure the item, and keep the item itself the largest thing in the frame.
For marketplace photographs, styling has a boundary: nothing in the styling may contradict the physical item. A flaw, repair, fading, or pilling that would matter to a buyer belongs in its own clearly framed photograph and in the listing text. A styled image that hides a known flaw creates a dispute; a clear flaw photograph prevents one.
Verify against the destination, then keep the record
Before publishing or submitting:
- Re-read the destination's current photo requirements: count, size limits, background rules, and any first-image rules, and note the date checked.
- Confirm the color-reference frame still matches the physical item.
- Confirm every required view from your shot list exists and is sharp at full size, not just as a thumbnail.
- For a pattern test, confirm each photograph the brief asked for is present and shows the requested state.
- File the session record: station notes, reference frame, selected images, and where each was published.
The record is what makes the next session fast. A photographer who knows the exact window, hour, backdrop, and camera position that produced last quarter's portfolio does not start from zero.
Make-photography session record
Make-photography session record
Use this record to define what each photograph must prove, control the station, verify color and exposure, complete the shot list, and file the evidence with the item's project notes.
Nothing entered here is saved or sent.
Purpose and destination
Decide what the images must prove before shooting.
Station setup
Record enough to rebuild the same station later.
Color and exposure control
Verify against references, not the preview image.
Shot list completion
One row per required view.
Review and filing
Close the session with evidence in place.
Sources and decision boundaries
eBay's picture help page is current first-party guidance for that platform's photo mechanics and limits; other platforms set their own rules, and all of them change. Shopify's product-photography guide is a commercial tutorial describing one home window-light setup, not a standard. Cambridge in Colour's white balance and histogram tutorials are photography-education sources for the concepts of color casts and exposure reading. None of these sources, and not this guide, prescribes a camera, exposure setting, light direction, backdrop, styling choice, or platform outcome, and a photograph is not a substitute for stated measurements, fiber content, or condition disclosure.
Do I need a real camera, or is a phone enough?
Judge the output, not the device. A controlled station, one dominant light source, a neutral color reference, and a histogram check matter more than the camera body. Test your phone at the station and inspect the frames at full size before deciding to buy anything.
What is the best background for photographing garments?
The one that is plain, continuous, wrinkle-free, and repeatable in your space. Paper sweeps, pressed neutral fabric, and clean walls all pass that test. Record what you used so the next session matches, and check whether your destination platform sets its own background rule.
How do I make knit stitch definition show up in photos?
Move the light, not the saturation slider. Position the item so light rakes across the surface from the side, focus on the stitches, and compare a front-lit and side-lit frame of the same area. Record the angle that worked with your station notes.
Should I edit photos of items I am selling?
Correct them, and stop there. White-balance correction against a neutral reference and exposure correction that keeps fabric detail make the image match the item. Edits that change color, hide flaws, or smooth texture make the image contradict the item, and the physical item always wins that dispute.