How to Read a Sewing Pattern
The envelope, the size charts, the symbols on the tissue, and the cutting layout, all explained in one place.
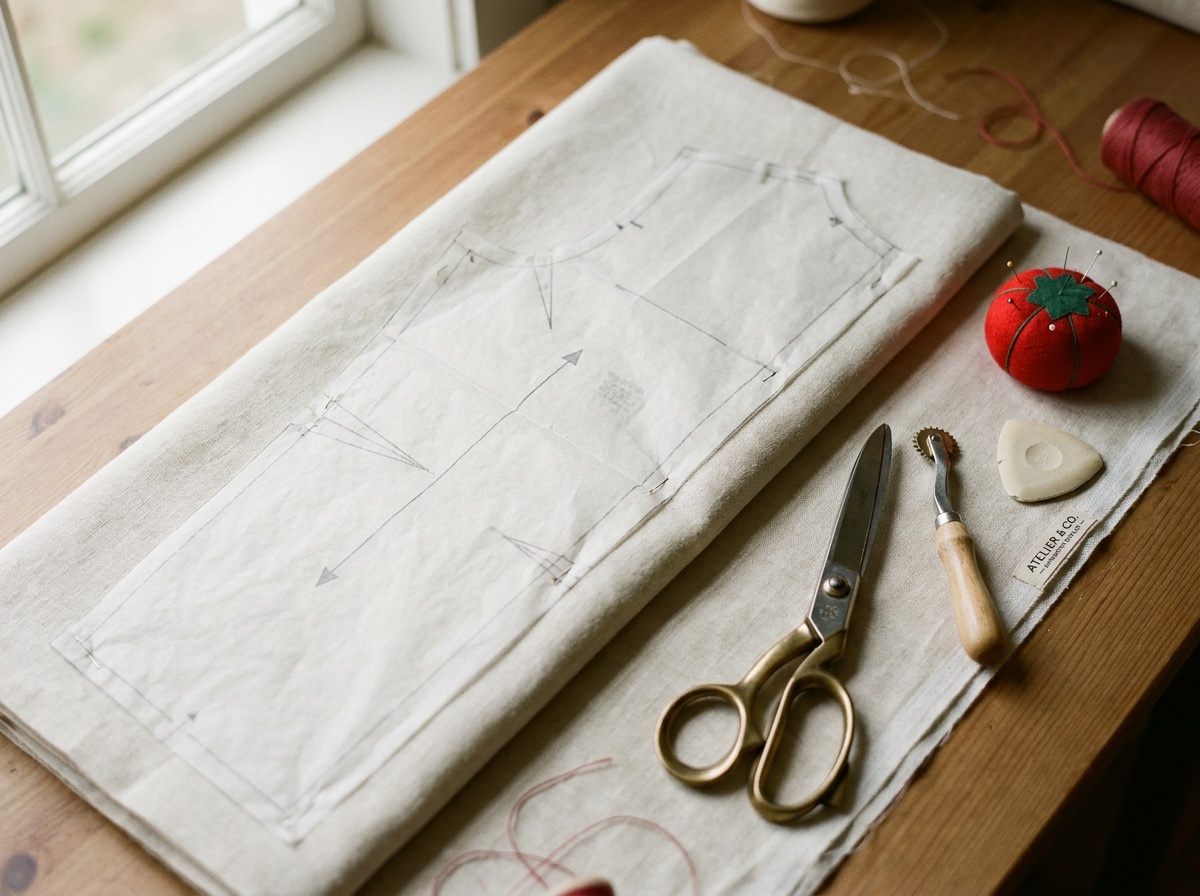
A sewing pattern is read in four layers. The envelope or product page tells you fabric and notions. The size charts tell you which size to cut, based on your body measurements and the ease built into the design. The markings printed on the tissue or PDF (grainline, fold line, notches, darts, dots) tell you how to place, cut, and match the fabric. The cutting layout shows how the pieces fit on folded fabric. Learn the symbol key once and it carries over to almost any pattern brand.
The vocabulary is close to universal even when the icons differ slightly by company. Once you know what each mark is asking you to do, a Big 4 tissue pattern and an indie PDF read the same way.
What's on the envelope or product page
Before you get to the tissue paper or the print files, the envelope (or its online equivalent) gives you everything you need to plan the project:
- Style and view options. Multi-view patterns show several versions (sleeve lengths, necklines, skirt lengths) under one style number. Not every piece in the packet is used for every view, so check the pattern piece inventory for the view you're making.
- Size range. Listed as a range of pattern sizes, not off-the-rack sizes. See the next section for why those two things are different.
- Suggested fabrics. A list of fabric types the pattern is drafted for, sometimes with a weight range. Straying far from this changes drape and fit.
- Notions. Zippers, buttons, interfacing, elastic, thread, anything beyond the fashion fabric.
- Yardage chart. Fabric required by size, usually broken out by fabric width (commonly 45" and 60").
- Flats or technical drawings. Front and back line drawings of each view. These show seam placement, pockets, and closures more clearly than the photo does.
- Cutting layout diagrams. How to lay the pieces on folded fabric for your size and fabric width, so you cut efficiently and get the right pieces mirrored.
Which size do you cut
Pattern sizing runs on its own scale, separate from ready-to-wear. A size 12 pattern and a size 12 off the rack are not the same measurements, and the gap between them can run several inches. Every pattern brand publishes its own size chart, and you check it every time, even if you've sewn that brand before.
| Size 4 | Bust 29½" · Waist 22" · Hip 31½" |
| Size 8 | Bust 31½" · Waist 24" · Hip 33½" |
| Size 12 | Bust 34" · Waist 26½" · Hip 36" |
| Size 16 | Bust 38" · Waist 30" · Hip 40" |
| Size 20 | Bust 42" · Waist 34" · Hip 44" |
| Size 24 | Bust 46" · Waist 39" · Hip 48" |
Misses' patterns are drafted for a height of about 5'5"–5'6". Miss Petite patterns are drafted for about 5'2"–5'3". If your height falls outside that range, expect to adjust pattern length regardless of which size you cut.
Measure at the fullest part of the bust with the tape parallel to the floor, at the natural waistline (the narrowest part of your torso, not where your pants sit), and at the fullest part of the hip, typically 7"–9" below the waist.
Pattern size and ready-to-wear size are different scales. A Simplicity in-house S/M/L chart also uses different numbers than the McCall's/Butterick/Vogue chart above, even on patterns sold by the same company. Check the size chart printed on the envelope or product page for the specific pattern in front of you, every time.
Body measurement vs. finished garment measurement
The size chart gets you your body measurement. A second chart, the finished garment measurement chart, tells you what the sewn garment will measure. The difference between the two is ease.
- Wearing ease is added for woven fabrics (no stretch) so the garment allows movement. Finished measurements run larger than body measurements.
- Negative ease is used for knit patterns (T-shirts, leggings, swimwear). The finished measurement is smaller than the body measurement, and the fabric's stretch covers the difference.
What the symbols on the pattern mean
Every mark on a pattern piece is telling you where to place fabric, where to cut, or where to match one piece to another. Exact icon style varies by company, so always check the symbol key printed on the tissue or the first page of the instructions before cutting. The core set below is consistent across major pattern companies.
| Grainline | Double-ended arrow. Align parallel to the fabric's lengthwise grain, checking both ends measure the same distance from the selvage. |
| Fold line | Arrow bent at a right angle toward the edge. Place that edge on the folded fabric and don't cut it; no seam allowance is added there. |
| Notches | Small triangles on the cut edge. Match-points between pieces. Convention is single notch for front, double for back. |
| Cutting line | Solid outer line, one per size on multi-size patterns. Trace your size first if you might reuse the pattern for others. |
| Stitching line | Broken line inside the cutting line, when printed. Where the machine sews; not every pattern includes it. |
| Darts | Two dashed legs meeting at a dot. Fold and stitch out this wedge of fabric to add shape at the bust, waist, elbow, or shoulder. |
| Dots | Solid dots or circles. Match-points for dart legs, pocket placement, and sleeve or collar matchpoints. Transfer them to the fabric. |
| Buttonholes and buttons | A line with perpendicular end-ticks for the buttonhole; a small circle for the button placement. |
| Lengthen/shorten lines | A pair of parallel lines across the piece. Add paper between them to lengthen, fold to shorten, without distorting the pattern. |
Reading a PDF pattern
PDF patterns add a layer paper patterns don't have, and it's where most first-time print-at-home problems start.
- Print/test square. Nearly every home-print PDF includes a square, commonly 2"×2" (5 cm × 5 cm), on the first page. Print that page alone, measure the square with a ruler, and confirm your printer is set to no scaling or actual size before printing the rest. A square that measures wrong means every piece in the file is off.
- A0 copy-shop file. Most PDF patterns also include a single-sheet version sized for wide-format printers, for sewists who'd rather have a copy shop print it than tile it at home.
- Layers. Many indie patterns are layered so you can turn off every size but your own before printing, instead of tracing your size out of a nested multi-size sheet.
- Tiling. Home-printed pages need trimming, usually on the right and bottom margins, before taping or gluing them together in a grid.
Laying out and cutting
- Follow the pattern's cutting layout diagram for your size and fabric width. It's drawn to fit the pieces economically and to get the right number of mirrored pieces.
- Cut a "place on fold" piece on the actual fold. Don't cut it separately as two mirrored pieces unless the pattern gives that as an alternative layout.
- Check the seam allowance in the pattern's own instructions before you cut. US commercial patterns (McCall's, Simplicity, Butterick, Vogue) commonly use 5/8". Many independent and PDF patterns use 3/8" or 1/4" to cut down on bulk. Some European patterns include no seam allowance at all, and you add it yourself. There's no single number that applies everywhere.
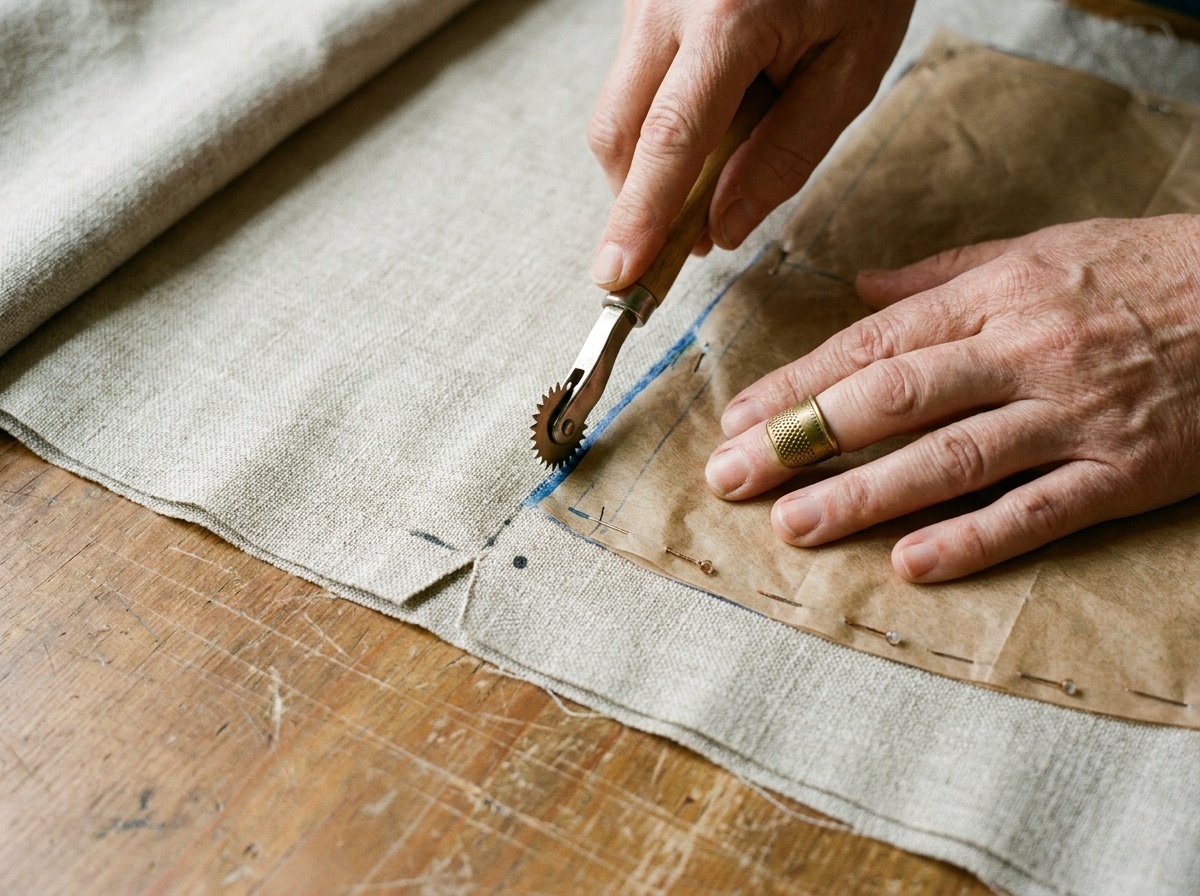
- Transfer notches, dots, and dart legs to the fabric before you unpin the pattern, using tailor's chalk, a marking pencil, or dressmaker's carbon and a tracing wheel. Test the marking tool on a scrap first to confirm it won't bleed through or leave a mark you can't remove.
Is the seam allowance the same on every pattern?
No. US commercial patterns typically use 5/8". Many indie and PDF patterns use 3/8" or 1/4" to reduce bulk. Some European patterns print no seam allowance at all. Check the instructions for the specific pattern before you cut.
What's the difference between a single notch and a double notch?
It's a widely used convention rather than a fixed rule: a single notch commonly marks a front piece and a double notch marks a back piece, which helps prevent sewing a sleeve in backwards. Confirm against the pattern's own key if you're unsure.
What do I do if the pattern doesn't include a seam allowance?
Add it yourself before cutting, measuring out from the printed cutting line by whatever allowance you plan to sew with. This is common on European patterns, so check the instructions rather than assume one is already included.
Why doesn't my pattern size match my ready-to-wear size?
Pattern companies use their own size charts based on body measurements, not the vanity sizing common in ready-to-wear clothing. Always measure yourself and check the specific pattern's chart rather than sew the number you'd buy in a store.
What's the print/test square for on a PDF pattern?
It's a square, commonly 2 inches, printed on the first page so you can measure it with a ruler and confirm your printer didn't auto-scale the file. If the square measures wrong, every piece in the pattern will be off by the same amount.