How to Create a Tech Pack, Step by Step
The build order that gets a tech pack right the first time, from flat sketch through labeling, with the measurement and stitch data a factory checks against.
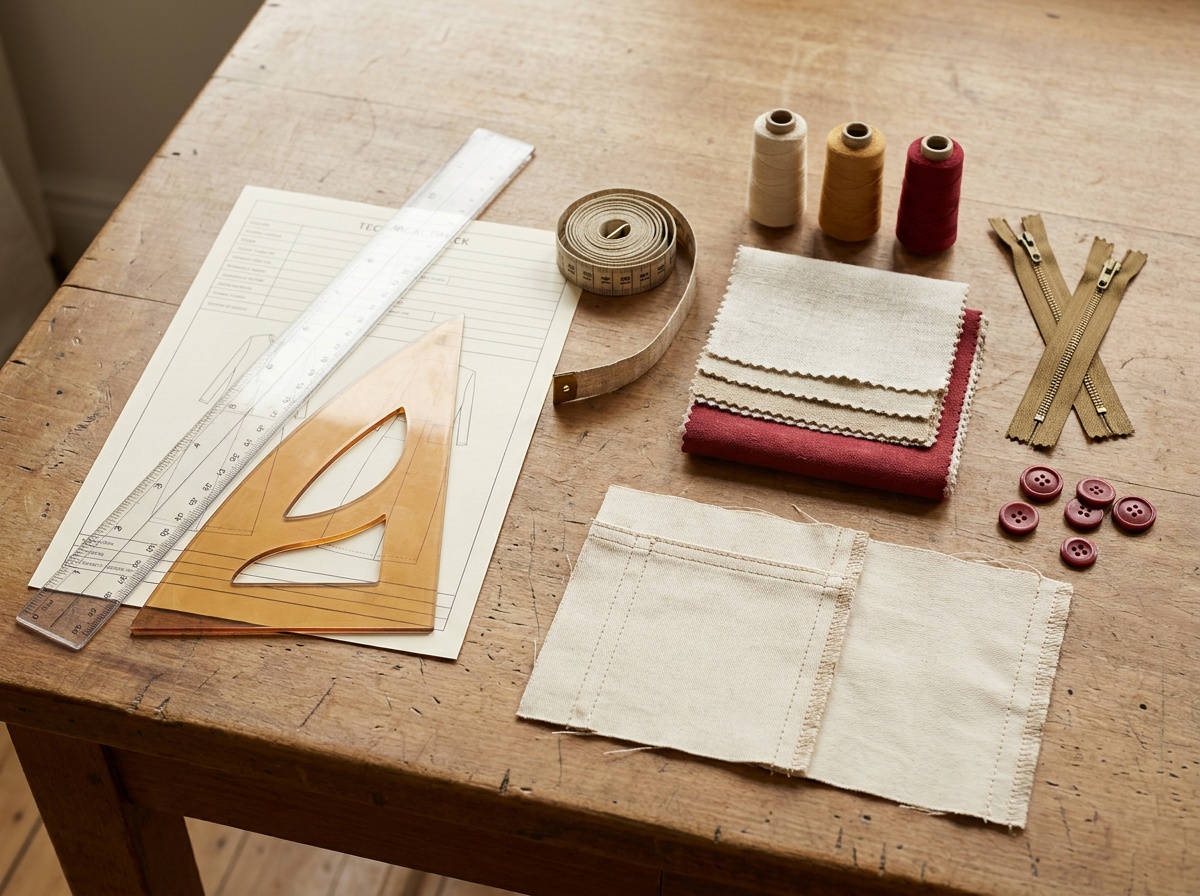
A tech pack comes together in six parts: flat sketch, point-of-measure grid, bill of materials, construction detail, colorway, and labeling and packaging. There is no single certified format for a tech pack, but there is a working sequence: build the sketch first because every other page references it, lock measurements early because they gate the first pattern and sample, and leave colorway and labeling for last because neither one affects fit.
No standards body defines what a tech pack must contain. Factories, software vendors, and technical designers each use their own layout, and the sections appear in different orders depending on who taught them. What follows is a build sequence based on dependency, not convention: each section is placed where it is because of what it needs from the section before it.
What order to build a tech pack in, and why
Start with the flat sketch. Every other page, from measurements to construction notes, refers back to it, so it has to exist first, even as a rough proportion drawing.
Measurements come next, before materials or construction detail. The point-of-measure grid gates the first pattern: a factory cannot cut a sample without it, so it belongs early even though building it takes the longest.
The bill of materials can run in parallel with the point-of-measure grid. Neither depends on the other.
Construction detail comes after measurements, because stitch and seam choices are usually annotated directly onto the same flat sketch used for the POM callouts.
Colorway can wait. Color rarely blocks pattern-making, and many brands don't finalize it until after the first fit sample, once they know the garment is worth producing in multiple colors.
Labeling and packaging come last. They don't affect fit or construction, and they're the easiest section to finalize once the garment itself is locked.
| 1. Flat sketch | Front and back minimum, plus callouts for pockets, plackets, closures |
| 2. Point-of-measure grid | Every POM named, tolerance stated per measurement, graded across the size run |
| 3. Bill of materials | Fabric, lining, trims, hardware, labels, with supplier and color code per item |
| 4. Construction detail | Stitch type and SPI per seam, seam allowance, finishing method, thread color |
| 5. Colorway | Pantone or brand color code per component, matched to the hardest-to-source item first |
| 6. Labels and packaging | Brand label, size label, country of origin, care label, fold and polybag spec |
Building the flat sketch
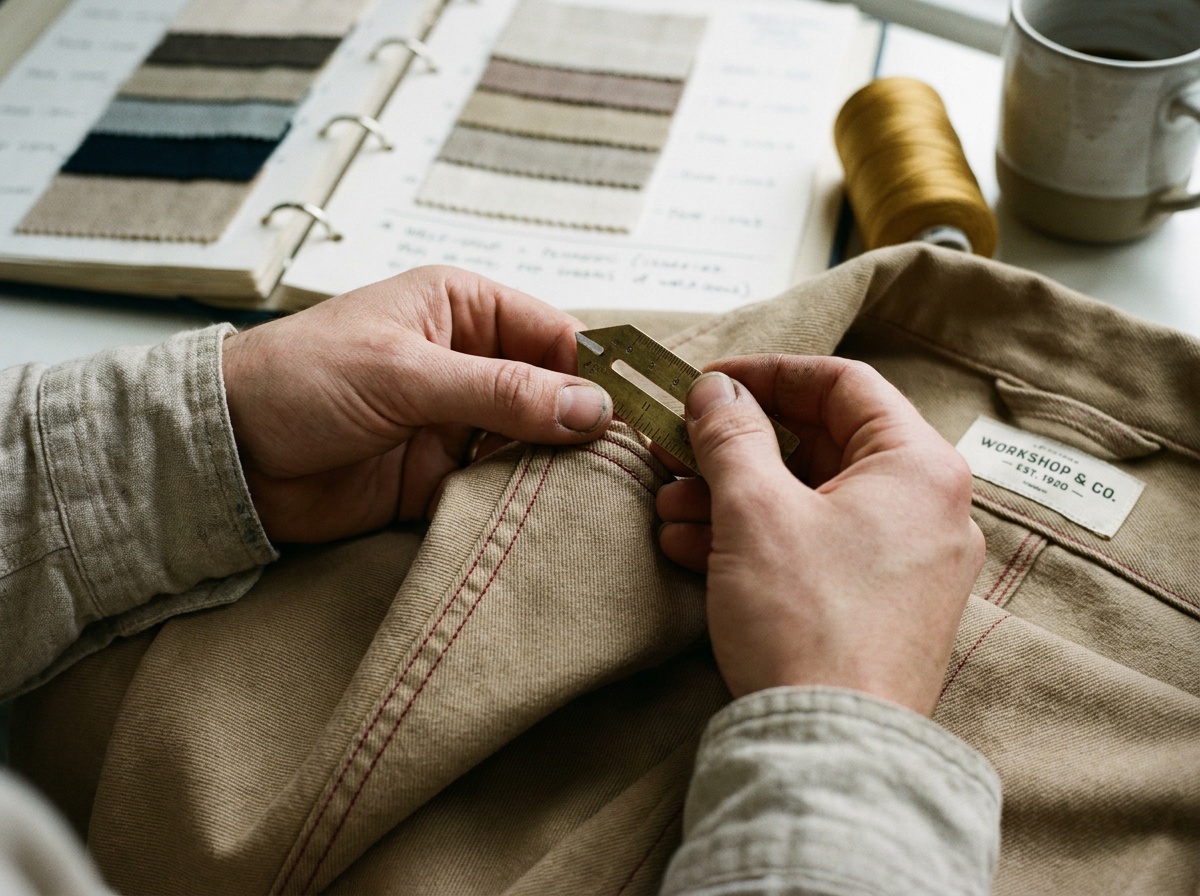
The flat sketch is a proportion reference, not an art piece. It needs a front view and a back view at minimum, with callout lines pointing to construction details a photo can't show clearly: topstitch lines, hidden seams, pocket bags, plackets. Detail callouts (a zoomed circle on a cuff, a cross-section of a waistband) go on a separate page once the base sketch is set, so the main sketch stays legible.
Setting measurements and tolerance
The point-of-measure (POM) grid is where most first tech packs fail, because it's the section that requires the most judgment and the least is written about it clearly elsewhere.
Each point of measure follows a description formula: POM number, POM name, whether it's a full or half measurement, and the instruction itself, in the form "measure [straight or curved] from [start point] to [end point] at [location]." Most vertical body measurements are taken from a common reference point called HPS, or high point shoulder, so every measurement lines up against the same anchor.
Tolerance is the acceptable plus-or-minus range around a stated measurement. It is set per point of measure, not as one blanket number across the garment. A commonly cited reference for general body measurements is around a quarter inch, but that figure is not a universal constant, and treating it as one is the most common mistake in a first tech pack. In practice, tolerance scales with what's being measured:
- Structured or tailored points (collar, cuff, waistband) run tighter, often an eighth to a quarter inch, because they're visible and fit-critical.
- Circumference measurements (chest, hip, bicep) usually run looser, around a half to five-eighths inch, because small variations there are less visible.
- Stretch and knit garments run looser still, since the fabric itself absorbs some variance the pattern can't control.
Don't over-specify the grid. Give the factory the points needed to define the shape, not redundant constraints that leave no room for good pattern-making. Armhole drop and shoulder slope define a sleeve's set; adding a full armhole circumference on top of both is usually redundant rather than more precise.
Grading is the size-to-size version of the same grid: a delta applied to each point of measure per size step, relative to a base or sample size, producing a graded spec sheet across the full size run. The mechanics are simple even when the software isn't: pick a base size, define how much each POM changes per step up or down, and apply that delta consistently.
Tolerance ranges above are common reference points, not fixed industry law. A factory that works mostly in structured wovens will hold tighter tolerances by default than one that works mostly in stretch knits. Confirm tolerance per POM with whoever is cutting the pattern rather than assuming a single number applies across the whole garment.
Work with a technical designer.
Setting tolerance correctly across a full point-of-measure grid is where most first-time tech packs go wrong. A technical designer can review a grid before it goes to a factory and catch the measurements that are set too tight, too loose, or not stated at all.
Writing the bill of materials
The bill of materials (BOM) lists every physical input to the garment: fashion fabric, lining, interfacing, trims, hardware, thread, and labels. For each line, record the material or description, where it goes on the garment, the color code, the supplier, quantity per unit, unit of measure, and unit cost if known. A shorter version covers placement, material, color number, and supplier at minimum; a fuller version adds cost and notes.
DTM (dyed to match) is a common BOM notation worth knowing: it flags a trim or thread that should be dyed to match the fashion fabric rather than sourced in a fixed stock color.
Specifying construction and stitch detail
This section tells the factory how each seam is built, not just where it is. For each seam or area, name the stitch and seam type (overlock or serge, topstitch, single needle, bar tack), the stitches per inch (SPI), the seam allowance, the closure method, pocket construction (welt versus patch), thread type, weight, and color, and the seam finishing method (serged, taped, pinked, bound).
Stitches per inch is one of the more concrete, checkable numbers in a tech pack, and it varies meaningfully by fabric and garment type. These figures come from thread-manufacturer technical guidance rather than a single universal rulebook, and actual SPI targets vary by factory and machine, but they're a solid starting reference.
| Denim (jeans, jackets, skirts) | 7–8 SPI |
| Twill pants, shorts | 8–10 SPI |
| Trousers, dress pants, slacks | 10–12 SPI |
| Dress shirt, blouse | 14–20 SPI |
| Casual shirts, tops | 10–14 SPI |
| Childrenswear | 8–10 SPI |
| Dresses, skirts (woven) | 10–12 SPI |
| Blindstitch hems | 3–5 SPI, long stitch to reduce needle dimpling |
| Jersey T-shirts, tops, polos | 10–12 SPI |
| Underwear | 12–14 SPI |
| Infantwear | 10–12 SPI |
| Fleece | 10–12 SPI |
| Sweaters (medium to heavy) | 8–10 SPI |
| Swimwear | 12–16 SPI |
| Dresses, skirts (knit) | 10–12 SPI |
| Intimates | 12–16 SPI |
| Stretch knits (spandex, lycra) | 14–18 SPI |
| Hosiery, socks | 35–50 SPI |
More stitches per inch generally means more seam strength and more thread used. Too many on a delicate or knit fabric can perforate it, weakening rather than strengthening the seam, a risk usually described as needle cutting. Stretch and elastic seams need higher SPI to resist stitch cracking, where the thread itself ruptures under stretch, and to avoid seam grinning, where a seam gaps open under stress because tension was too loose or stitch count too low.
Seam allowance also belongs on this page, and it varies more than most first-time tech packs assume. Three-eighths to five-eighths of an inch is a safe general range: factory cut-and-sew production tends toward the tighter three-eighths to half inch to save fabric, while five-eighths is the classic default in commercial home-sewing patterns. State the seam allowance per section if it changes, rather than assuming one number holds for the whole garment.
Building the colorway page
For each colorway, include a flat sketch of that version, the color code for each component (Pantone is the standard reference in apparel; RGB, CMYK, or hex apply for digital or print use), the fabric and trim color mapping (main fabric, lining, thread, buttons, zippers), material swatches where available, and any special notes on dye technique, print placement, or color-blocking.
A practical approach is to start color-matching from the hardest component to match, often a stock hardware or zipper color that can't be custom-dyed, and build the rest of the palette around it, rather than trying to get every trim custom-dyed to match the fabric.
Lab dip approval, the process of submitting fabric color samples for sign-off, typically runs two to three rounds before a color is approved, with each round's swatches labeled option A, B, C. This is a common pattern across the industry rather than a fixed rule, and some colors clear in one round while others take more.
Specifying labels and packaging
The labeling page should cover every label the garment carries: the main or brand label, size label, country-of-origin label, care and content label, price tag, and hang tags, with placement specified for each. Required content typically includes brand name, size, country of origin, fiber content, and care instructions.
In the US, garments carry a Registration Number, or RN#, which is a real identifier issued under federal textile labeling law. Note it as a standard label element to include; treat anything beyond that, including which disclosures apply to your specific product, as a compliance question for someone qualified to answer it, not a production detail this guide covers.
Care labeling in the US typically references an ASTM standard for care symbols. Standard numbers and revisions change over time, so confirm the current designation with your labeling supplier or a compliance resource rather than treating any single standard number as fixed.
The packaging page should specify polybag type, any tissue or desiccant used, carton labeling for the warehouse (size, color, quantity per carton), and fold dimensions and orientation for the finished garment.
Is there an official standard tech pack format?
No. There is no international or industry-wide standard for tech pack format. Factories, software vendors, and technical designers each use their own layout, though most converge on the same core sections: sketch, measurements, materials, construction, colorway, and labeling.
Do I have to build the sections in the order in this guide?
No. This order follows what each section depends on (sketch first, measurements early, labeling last) but other sequences are used across the industry. What matters more than the order is that every section is complete and internally consistent before the tech pack goes to a factory.
What tolerance should I use if I don't know the garment type well?
Start tighter for structured, fit-critical points like a collar or cuff, and looser for circumference measurements and stretch fabrics. A technical designer can set tolerance per point of measure more reliably than a single blanket number.
Why does stitches per inch matter if the factory has its own defaults?
Factory defaults vary by machine and operator. Stating SPI per seam removes ambiguity, especially on stretch fabrics, where too few stitches per inch causes seam grinning or thread rupture under stress.
Reviewed by Karolyn, Technical Apparel Designer · kellyhouse.studio