How to Cast On in Knitting: The Main Methods Compared
Long-tail, knitted, cable, and provisional cast-ons compared on stretch, edge firmness, and when to use each.
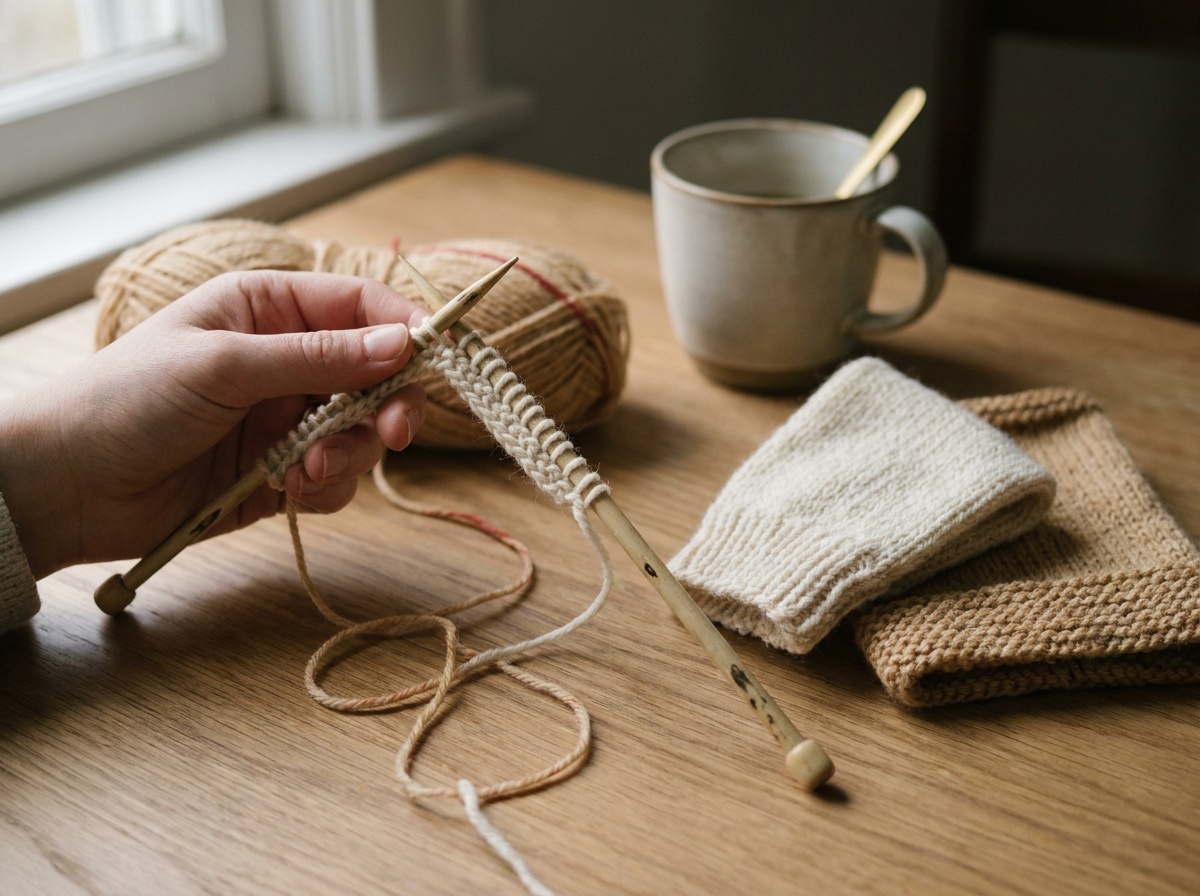
A cast-on is the foundation row of stitches you put on the needle before knitting begins. The method you pick sets how much the bottom edge stretches and how firm it looks. Long-tail is the default: moderate stretch, tidy edge, fast once you learn it. Use cable cast-on for a firm edge on ribbing and button bands, knitted-on when you are learning, and a provisional cast-on when you plan to pick the stitches back up and graft or knit down later. Match the cast-on's stretch to the bind-off so both ends of the piece behave the same way.
Every cast-on does the same job: it anchors loops on the needle so the first real row has something to work into. What separates the methods is the edge they leave behind. Some give a stretchy hem that pulls over a heel or a head; some give a firm line that holds a button band straight. Learn three or four cast-ons and you can match the edge to the project instead of using the one you happened to learn first.
What a cast-on is
The cast-on is the row of stitches worked onto an empty needle at the start of a piece. It is not counted as row 1 in most patterns; row 1 is the first row you knit or purl into those cast-on loops. The number the pattern gives you (for example "cast on 84 stitches") is the stitch count that first row expects, so count as you go and recount before you begin knitting. A cast-on also creates a visible edge on the finished fabric, which is why the method matters beyond getting loops on the needle.
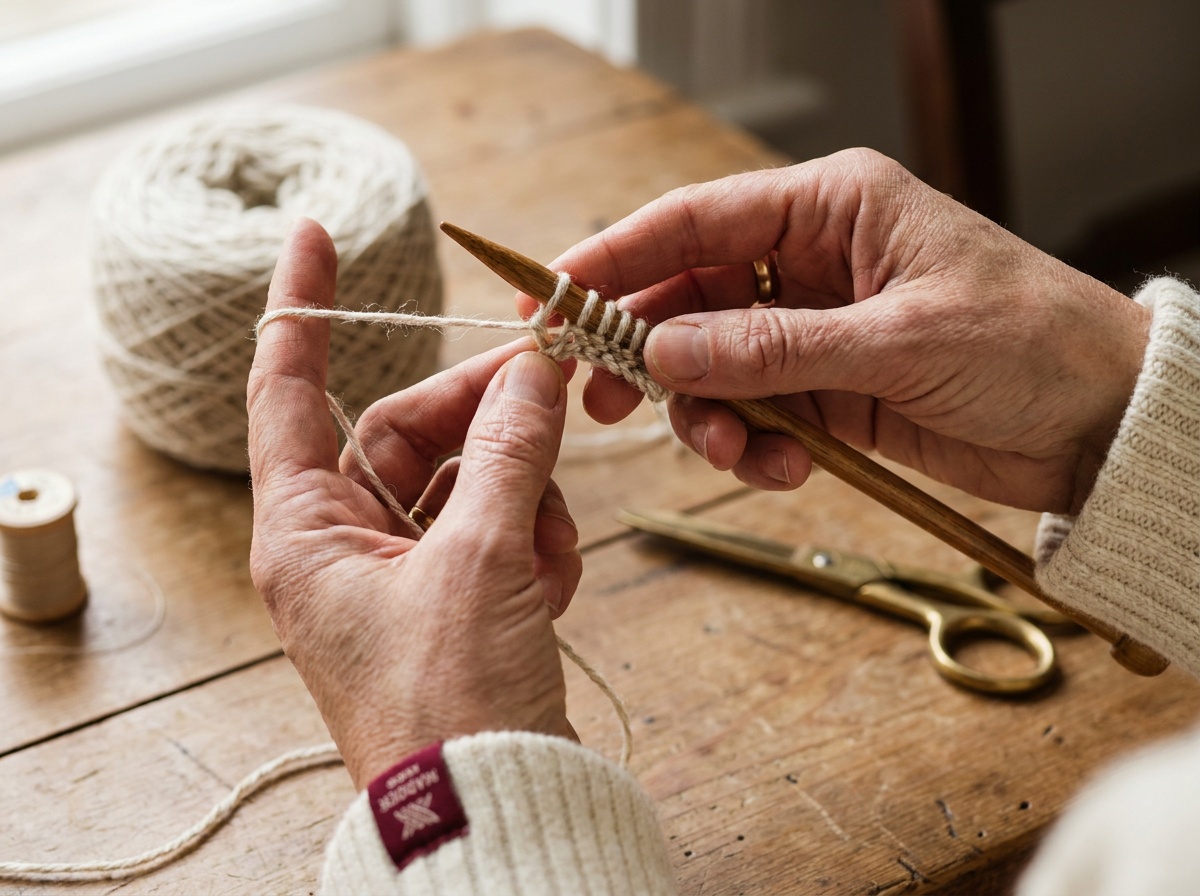
The main methods compared
| Long-tail | All-purpose, moderate stretch, tidy edge. The most common cast-on and a good default. |
| Knitted-on | Easy to learn, leaves a looser and less even edge. Good for beginners and for adding stitches mid-row. |
| Cable | Firm, corded edge with little stretch. Best for ribbing, button bands, and anywhere you want a stable edge. |
| Backward-loop (e-wrap) | Fastest to work but loose and uneven. Fine for a few extra stitches; avoid for a whole garment edge. |
| Provisional | Temporary. Held on waste yarn so you can unzip it later to pick up live stitches for grafting or knitting down. |
| Tubular | Invisible, rounded, highly stretchy edge for 1x1 ribbing. More setup, best-looking cuff and hem edge. |
Long-tail is the one to learn first because it covers most situations: socks, hats, sweaters, scarves. Knitted-on and cable use the same motion (you knit into the previous stitch and place the new loop back on the left needle), and the only difference is where you insert the needle. Knitted-on works into the stitch itself and stays soft. Cable works between the last two stitches and pulls each new stitch tight against the last, which is what makes the edge firm.
If you tend to cast on too tightly, work the cast-on over two needles held together, or go up one needle size for the cast-on row only, then slide the stitches onto the correct needle to start knitting.
Estimating the tail for a long-tail cast-on
Long-tail uses two strands at once: the working yarn from the ball and a free tail. Each stitch eats a fixed amount of tail, so a tail that runs out three stitches from the end means starting over. Two ways to estimate:
- The 3x rule. Measure a tail roughly three times the width of your cast-on edge, then add a few inches for the slip knot and weaving in. For a hat brim of about 20 inches around worked flat, that is a tail near 60 inches. This is a fast estimate and it errs long, which is what you want.
- The wrap method. Wrap the yarn around your needle once for every stitch you need to cast on, then unwrap and use that length as the tail. This is more exact than the 3x rule and worth it for large stitch counts where a wasted long tail adds up.
For a precise count without measuring at all, use two balls or both ends of a center-pull ball, so the tail can never run short.
Which cast-on for which edge
The edge type drives the choice more than the project does. Ask what the bottom of this piece needs to do.
| Ribbed cuff or hem (sock, sleeve, sweater body) | Long-tail for a reliable all-round edge; tubular for the stretchiest, most invisible finish on 1x1 rib. |
| Button band or firm neckline | Cable cast-on for a stable, non-flaring edge that holds its shape. |
| Top-down shawl or lace | A stretchy or provisional cast-on so the edge can block open; long-tail works when only moderate give is needed. |
| Edge you will seam later | Long-tail or knitted-on; the seam allowance hides the edge, so firmness matters less than an even stitch count. |
| Adding stitches mid-row (thumb, underarm) | Backward-loop or knitted-on, worked directly onto the needle already in progress. |
A ribbed cuff on a sock is the clearest case: it has to stretch over the heel and spring back. Long-tail gives enough stretch for most feet, and a tubular cast-on gives more if you want it. A button band is the opposite: any stretch there makes the band ripple and the buttons pull, so cable cast-on is the safer pick.
Matching cast-on stretch to bind-off
A piece has two horizontal edges: the cast-on at the bottom and the bind-off at the top. If one stretches and the other does not, the piece pulls unevenly, and the tight edge shows first when the fabric is stretched over a body. Match them.
The common failure is a stretchy long-tail cast-on paired with a standard bind-off, on a top-down hat or a toe-up sock. The bind-off comes out tighter than the cast-on and will not stretch over the head or the leg. Fix it by using a stretchy bind-off (a lace or sewn bind-off) to match the give of the cast-on, or by working the bind-off on a larger needle. The reverse, a firm cable cast-on with a loose bind-off, shows up as a top edge that flops while the bottom holds firm. The rule is one line: pick the bind-off to match how much the cast-on stretches, not by habit.
On a project worked in the round from the bottom up, the cast-on and bind-off sit at opposite ends and are easy to compare. Stretch both edges side by side before weaving in ends. If one clearly gives more than the other, redo the tighter edge while the yarn tails are still long.
A note on backward-loop
The backward-loop (also called e-wrap or single) cast-on is the fastest to learn: you twist a loop onto the needle and repeat. It has one honest use, adding a few stitches in the middle of a row, such as at a thumb gusset or an underarm. As a full garment edge it is a poor choice: the loops loosen unevenly, the first knitted row is hard to work into, and the edge has no structure. Reach for it only when you need a handful of new stitches on a needle already in progress.
Which cast-on should a beginner learn first?
Long-tail. It is the most common cast-on in patterns, gives a tidy edge with moderate stretch, and suits almost every project. The knitted-on cast-on is a good second because it uses the same motion as knitting a stitch, which reinforces that skill.
How long should the tail be for a long-tail cast-on?
About three times the width of the cast-on edge, plus a few inches for the slip knot and weaving in. For an exact count, wrap the yarn around the needle once per stitch and use that length as your tail.
Why is my cast-on edge too tight to knit into?
The cast-on stitches are pulled snug against the needle. Work the cast-on over two needles held together, or cast on with a needle one size larger, then knit the first row on the correct size. Both give the loops room without changing the stitch count.
Does the cast-on need to match the bind-off?
Their stretch should match. If the cast-on stretches and the bind-off does not, the tighter edge will not pull over a head or foot and the piece looks uneven. Pair a stretchy cast-on with a stretchy bind-off, and a firm cast-on with a standard one.