How to Bind Off (Cast Off) in Knitting
The standard bind-off, stretchy bind-offs for ribbing, and how to keep the edge from pulling in too tight.
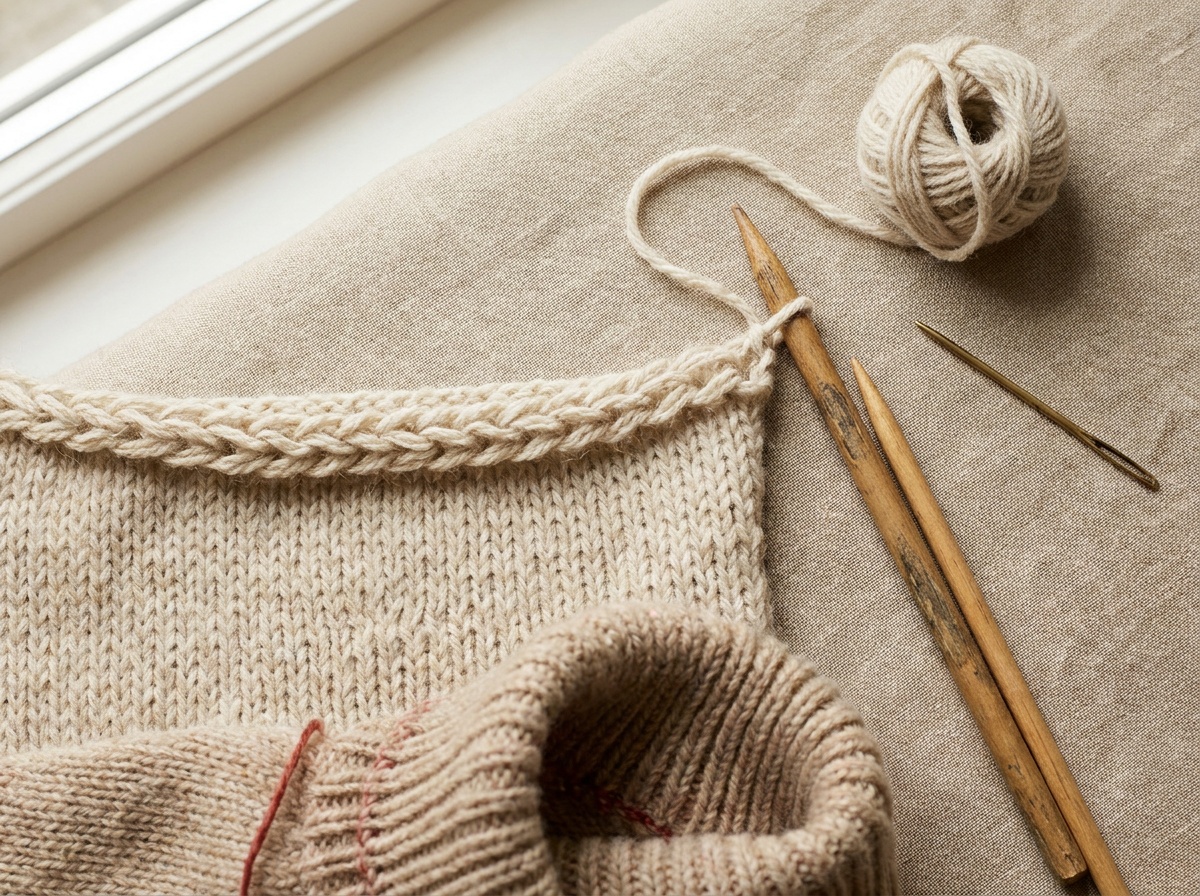
Binding off (called casting off in UK patterns, the same operation) secures your live stitches so the knitting cannot unravel when it comes off the needles. The standard method: knit two stitches, lift the first over the second and off the needle, knit one more, lift the previous stitch over again, and repeat to the end. The most common mistake is binding off too tightly, which draws the edge in and puckers it. The fix is to bind off with a needle one or two sizes larger, or to use a stretchy method on any edge that has to stretch, like a ribbed neckline or the cuff of a toe-up sock.
Every piece of knitting has live stitches, loops sitting on the needle that will pull loose the moment they are unsupported. Binding off chains those loops together into a finished edge that holds. There is one standard method that covers most situations and a handful of specialized ones for edges that need to stretch, stay invisible, or join to another piece. Which one you reach for depends on what the edge has to do.
What binding off is
Binding off is the last row of most flat pieces. You work stitches off the needle in a way that locks each one into the stitch beside it, leaving a single chained loop along the top instead of a row of open loops. When the last stitch is done, you cut the yarn, pull the tail through that final loop, and snug it up. The edge is now closed.
US patterns say bind off. UK patterns say cast off. These are the same instruction, so a UK pattern telling you to cast off is not asking for anything different from a US pattern's bind off. The reverse operation, putting live stitches back on the needle to begin, is the cast on.
Leave a tail of at least six inches when you cut the yarn, longer if you plan to use it for seaming. A short tail slips back through the last stitch and unties itself.
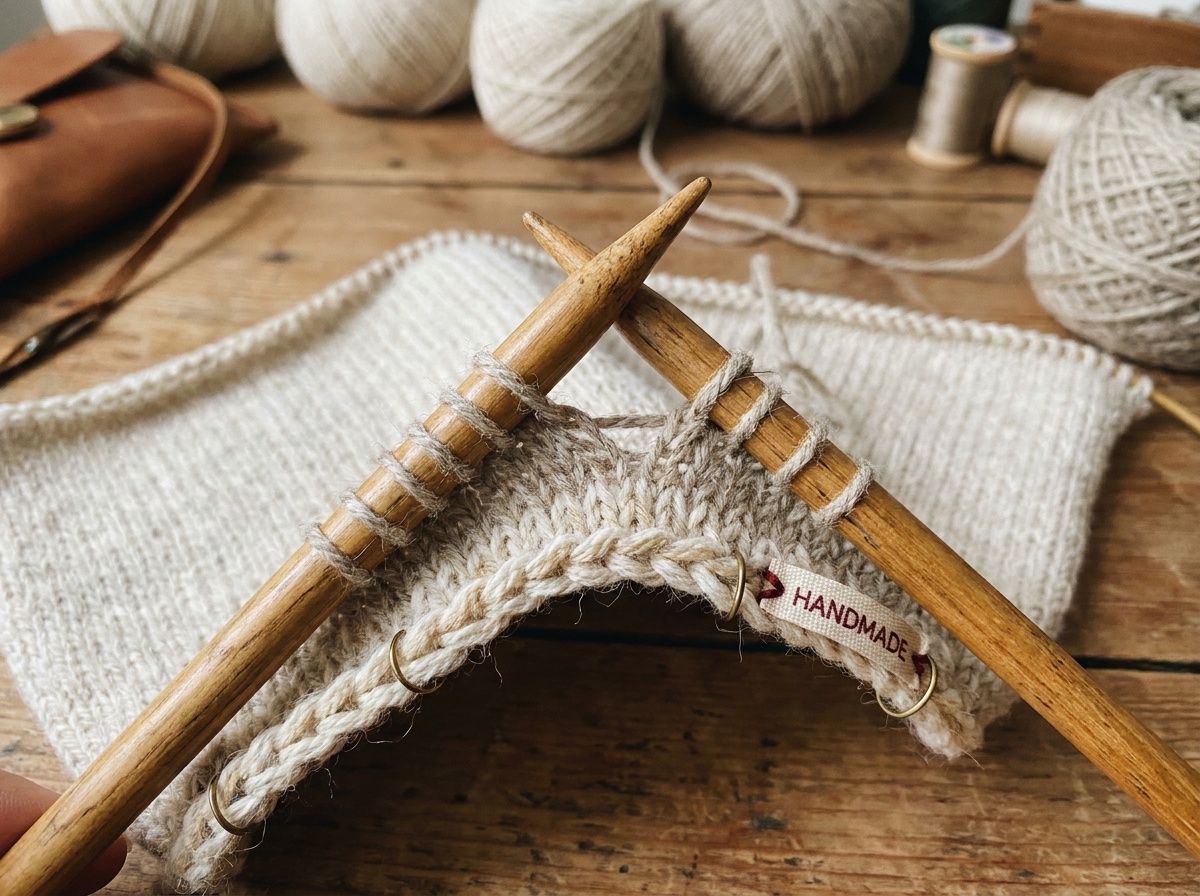
The standard bind-off
The basic bind-off is worked across the right side unless the pattern says otherwise. It is firm, tidy, and correct for most edges that do not need to stretch.
- Knit the first two stitches as usual.
- Insert the left needle into the front of the first stitch you knitted (the one further from the tip) and lift it over the second stitch and off the right needle. One stitch remains on the right needle.
- Knit one more stitch. You now have two on the right needle again.
- Lift the previous stitch over the new one and off. Repeat across the row.
- At the end, one stitch remains. Cut the yarn, pull the tail through that loop, and pull snug.
To bind off in pattern, work each stitch as its pattern dictates before lifting the previous one over: knit the knits, purl the purls. Binding off in pattern keeps a ribbed or textured edge looking consistent instead of flattening it into a plain row.
The methods, and when to use each
| Standard (knit) bind-off | Firm, general-purpose edge. The default for shoulders, tops of hats, and any edge that does not need to stretch. |
| Stretchy bind-off | A yarn-over or k2tog-tbl variant that adds slack. For ribbed necklines, cuffs, and the cuff edge of toe-up socks. |
| Tubular bind-off | An invisible, rounded finish for 1x1 ribbing, sewn with a tapestry needle. Used on cuffs and collars where a clean edge shows. |
| Three-needle bind-off | Joins two sets of live stitches while binding off, so you never seam separately. Standard for shoulder seams. |
| Sewn bind-off | Worked with a tapestry needle for a soft, elastic edge. Elizabeth Zimmermann's method, good on garter and ribbing. |
| Picot bind-off | Adds small decorative bumps along the edge by casting on and binding off extra stitches. Decorative, for shawls and hems. |
Kitchener stitch is worth knowing alongside these, though it is technically grafting rather than binding off. It joins two sets of live stitches with a tapestry needle to make a seamless, stretchy join with no ridge, which is why it finishes sock toes and underarms. If a pattern says to graft or to Kitchener the toe, it means keep the stitches live and join them with yarn and a needle rather than binding off first.
The number one mistake: binding off too tightly
A tight bind-off is the single most common problem, and it shows up as an edge that draws in, puckers, or refuses to stretch over a head or a foot. It happens because most knitters pull the working yarn firm out of habit, and the standard bind-off has no built-in give. On a straight shoulder that does not matter. On a sock cuff or a crew neck, a tight bind-off can make the finished piece unwearable.
Two fixes cover almost every case:
- Go up a needle size or two for the bind-off row only. Hold the larger needle in your right hand and work the bind-off as normal. The larger loops carry more yarn, so the edge relaxes. This is the fastest fix and needs no new technique.
- Use a stretchy method on any edge that has to stretch. The yarn-over bind-off (yarn over before each stitch, then bind off the yarn-over together with the worked stitch) and Jeny's Surprisingly Stretchy Bind-Off are both built for ribbing. A tubular bind-off gives the most elastic, cleanest result on 1x1 rib but takes longer.
Test an edge before you weave in ends. A neckline should stretch over the head and spring back. A sock cuff should slide over the widest part of the foot. If it will not, bind off again looser rather than living with an edge that fights you every time.
Matching bind-off tension to the cast-on
A finished piece looks balanced when the bound-off edge has roughly the same stretch and firmness as the cast-on edge at the other end. A stretchy cast-on paired with a tight bind-off leaves one end that flares and one that grips, which reads as a mistake even when the knitting itself is even.
Match them by comparing stretch, not by counting. Pull the cast-on edge sideways, note how far it gives, then check that the bound-off edge gives about the same. On ribbed hems and cuffs this pairing matters most, since both ends usually need to stretch over a body part. A long-tail cast-on paired with a standard bind-off often comes out mismatched because the long-tail edge has more give, so a hat brim or cuff is a common place to reach for a stretchy bind-off to even the two ends out.
Reading bind-off instructions in a pattern
Patterns write bind-offs in shorthand. "BO" means bind off. "BO 3 sts" partway across a row shapes an armhole or neckline by removing stitches, and you bind off those three at the start of the row, then work the rest normally. "BO all sts" or "BO in pattern" appears at the end of a piece. "BO loosely" is the pattern telling you the edge needs to stretch, which is your cue to size up the needle or switch methods rather than working it firm.
Is casting off the same as binding off?
Yes. Casting off is the UK term and binding off is the US term for the same operation: securing live stitches so the knitting cannot unravel. A UK pattern that says cast off is asking for exactly what a US pattern calls a bind off.
How do I stop my bind-off from being too tight?
Bind off with a needle one or two sizes larger than the one you knitted with, or use a stretchy method like the yarn-over bind-off on any edge that has to stretch. A tight bind-off draws the edge in and can make a neckline or cuff unwearable.
Which bind-off should I use for ribbing?
Use a stretchy method so the ribbing keeps its elasticity. A yarn-over bind-off, Jeny's Surprisingly Stretchy Bind-Off, or a tubular bind-off all work; the tubular gives the cleanest, most elastic edge on 1x1 rib but takes the longest.
What is a three-needle bind-off used for?
It joins two sets of live stitches while binding off, so shoulder seams get seamed and finished in one step with no separate sewing. You hold the two needles parallel, knit through one stitch from each together, and bind off across.